The Mig-21 needs no introduction. This sleek but sturdy Cold War stalwart has served with roughly 60 countries and has been taking to the skies around the world for roughly 60 years. Among the operators to have flown the Mig-21 into combat, and one which continued to fly the latest version of the needle-nosed Mig well into the new millennium, is the Bharatiya Vayu Sena, also known as the Indian Air Force. To meet the camouflage needs of diverse regions of operation, the IAF sometimes overpainted the standard Soviet era air superiority gray with more locally suited camouflage schemes, which were prone to heavy chipping and flaking off. Replicating a finish like this can be challenging due to the layered effect of the original gray with the original airframe markings with years of operational weathering, overpainted camo, and finally the added on national markings over the new camouflage. Luckily it’s just a matter of planning your step-by step approach carefully, and working in the same sequence as the full scale operators. You can also take advantage of several basic weathering techniques and products to simplify the task. For this article I built the excellent Eduard Mig-21 MF with several Eduard Brassin sets. The exquisite fit of both the kit and the accesories greatly simplified the build and finishing process.
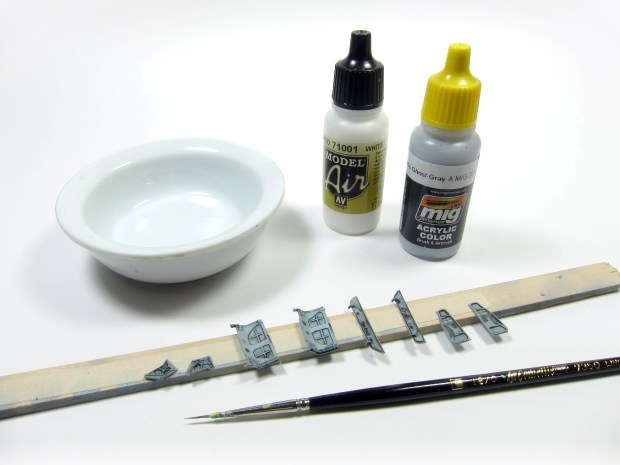
Quickboost parts were used throughout the build.

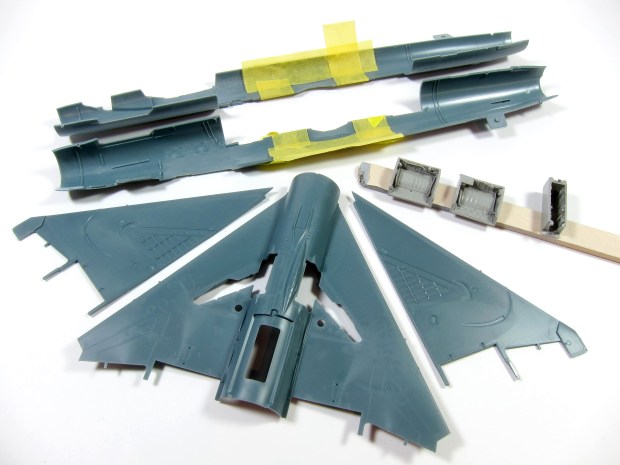
Construction begins with the wheel well parts.
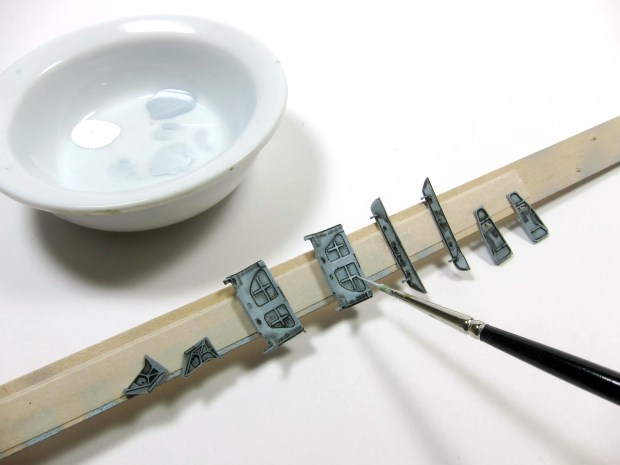
Painting the wheel well parts and areas of the fuselage with the airframe aluminum that will be revealed using basic hairspray chipping. After the aluminum was dried and buffed lightly with a cotton cloth, A heavy layer of hairspray was applied and just barely allowed to dry. After that, the green zinc chromate seen in reference photos was mixed from Tamiya paints, thinned with Tamiya X-20 thinner, lightly sprayed and allowed to dry. I then dabbed the area with a wet brush and lightly chipped the area with the same brush.

Here, the Wing areas of the wheel wells have been chipped using the hairspray technique. After the chipped green had dried, I added a pin wash of Ammo A.MIG-008 DARK WASH with a fine brush to highlight details and replicate the appearance of accumulated dirt and oil.
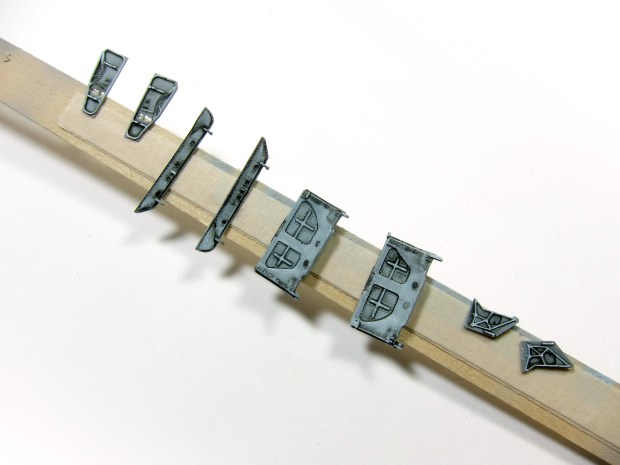
In this photo the resin wheel well parts have received a similar treatment using the appropriate colors for the main wheel wells. After the first pin wash, certain lines and hoses were painted with the colors seen in reference photos, then lightly washed with the same Ammo A.MIG-008 DARK WASH around the connectors and fittings. Keeping the wash localized to the fittings and connectors ensures that the colored areas remain bright and vivid.

Brassin metal landing gear were used to replace the kit gear.

The Brassin gear were primed with Gunze Mr Surfacer Black.
Then they were airbrushed, along with the Brassin gear doors, a custom light gray color.

An enamel wash was prepared and applied…


and acrylics were mixed and applied with a very fine brush to simulate scratches. The idea behind these scratches was that the accumulated dirt was scraped or scratched, revealing the original paint, and not the typical paint scratched away to reveal aluminum.
The fuselage halves were glued together, stopping at the wing cutouts, leaving the forward fuselage unglued to facilitate insertion of the cockpit parts later. The exhaust area seam was eliminated and structural details were added using styrene.

Additional engine exhaust details were added using custom made photoetch and Quickboost parts.

After the exhaust was completed, the cockpit was finished and inserted into the forward fuselage, then the forward fuselage halves were closed up.

Quickboost instrument panel
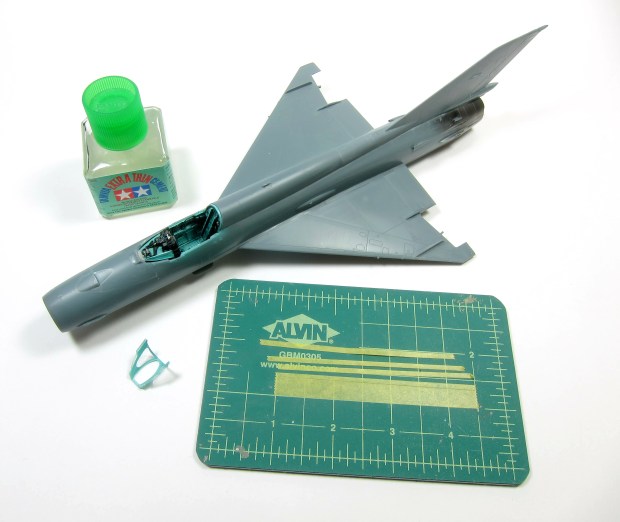
Canopy prep was next. Eduard masks were used. Using two sets allows you to apply one set to the inside of the clear parts to mask and spray the interior Soviet blue-green before moving on to the exterior colors later. Before masking, the clear parts were dipped in Future, which was then allowed to cure overnight.

The Eduard masks were applied and the exteriors of the clear parts were protected with Tamiya masking tape. Then the interior blue-green was sprayed.

The masks were removed to reveal the blue-green framing.
Tamiya Extra Thin Cement was used to attach the windscreen, since it dries very fast and forms a permanent mechanical bond. Before the windscreen could be properly bonded however, the paint needed to be carefully scraped away from the mating surfaces.
Strips of Tamiya masking tape were cut to hold the windscreen on while the joint set up.
The windscreen was set in place and the stock Tamiya cement brush was touched to the joint, allowing capillary action to draw the cement into the joint.

The tape strips were applied and left for a few hours while the windscreen joint cured.

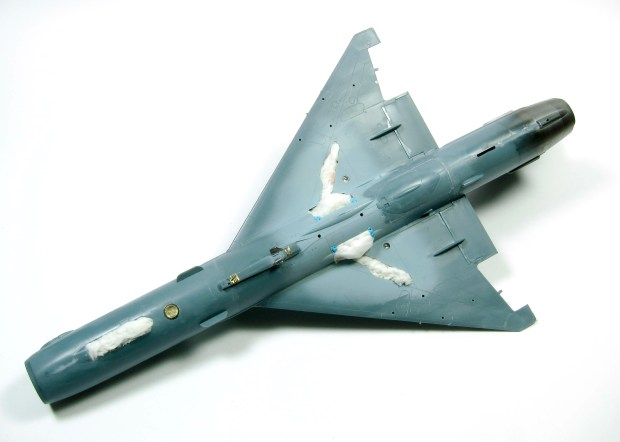
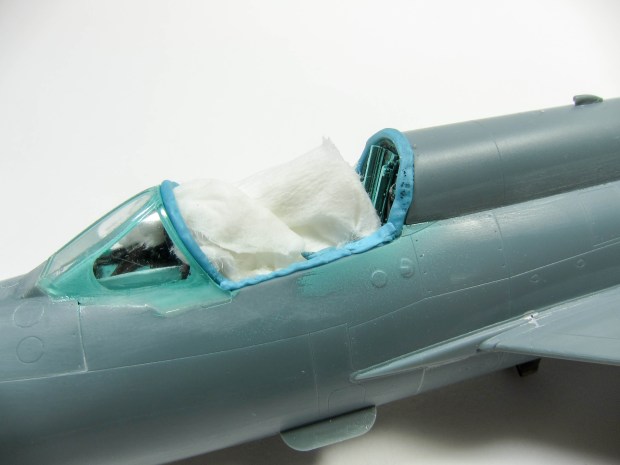
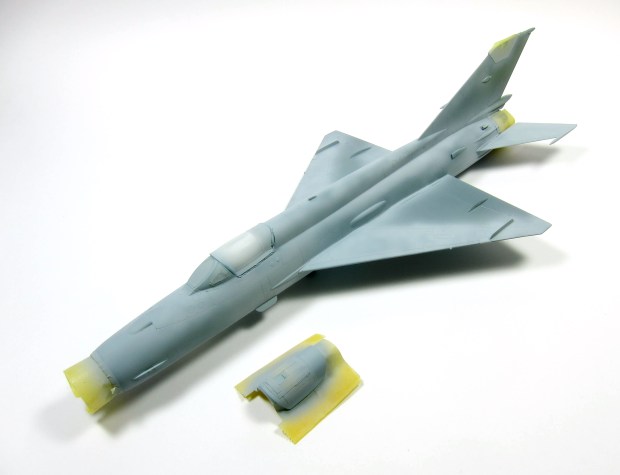
Wheel wells were masked off using tissue paper dampened with water. The areas around the wheel wells were pre-painted, before assembly, with the aircraft underside color (a custom-mixed approximation of FS36375 Light Ghost Gray) to make it easier to paint and mask around the wheel wells at this stage.
The model is ready for paint application. Note the almost complete absence of filler putty and sanding. Only a tiny amount of Mr Surfacer 1000 was used here and there to fill hairline gaps. The Mr Surfacer was rubbed away with a cotton swab dampened in Mr. Color Thinner. Some light sanding was done around the windscreen base.

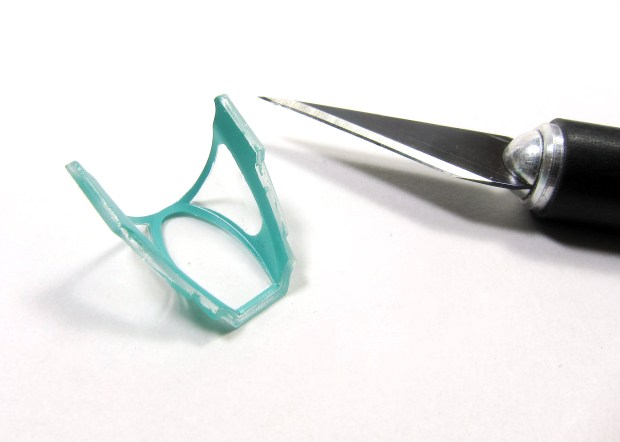
The Eduard kit comes with several canopy options and so a spare one of these was used for masking the cockpit. A small roll of Blu-Tak was rolled and placed around the canopy sill, pressing it down solidly with a dull toothpick.
The spare canopy was firmly pressed in place and the edges of the Blu-Tak were manipulated to make sure that the edges of the fuselage that needed the final colors were exposed fully.

The canopy exterior was masked using the Eduard set. The previously-painted interior was protected with Tamiya masking tape. The Green areas of the airframe were also sprayed at this time, using a custom mix of Tamiya colors, thinned with Tamiya Lacquer Thinner to make sure it adhered well to the bare plastic. At this point, the previously-painted exhaust area was also protected using Tamiya masking tape.

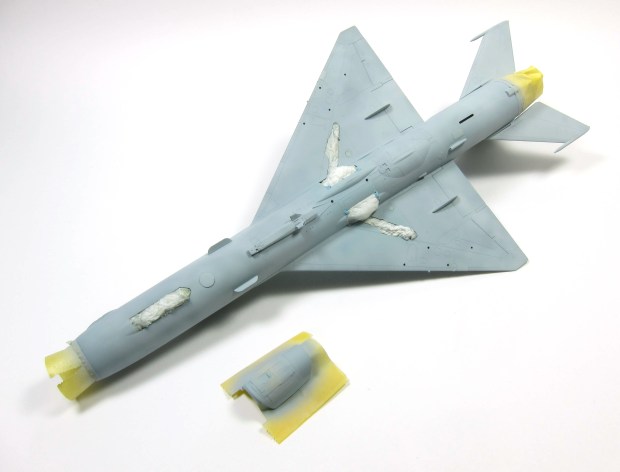
The gray base coat was applied to the upper surfaces using a custom mix of Tamiya colors, thinned with Tamiya Lacquer Thinner to help make sure it adhered well to the bare plastic.
The gray base coat was applied to the lower surfaces using a custom mix of Tamiya colors, thinned with Tamiya Lacquer Thinner to help make sure it adhered well to the bare plastic.
The airframe number recognition markings need to be applied to the bottom surface before basic weathering can be applied to the base gray, so a localized application of Future prepped the appropriate area of the wing lower surfaces for decals.

Future was also locally applied to the vertical stabilizer in preparation for the aircraft markings that will be added there before the camouflage is applied.

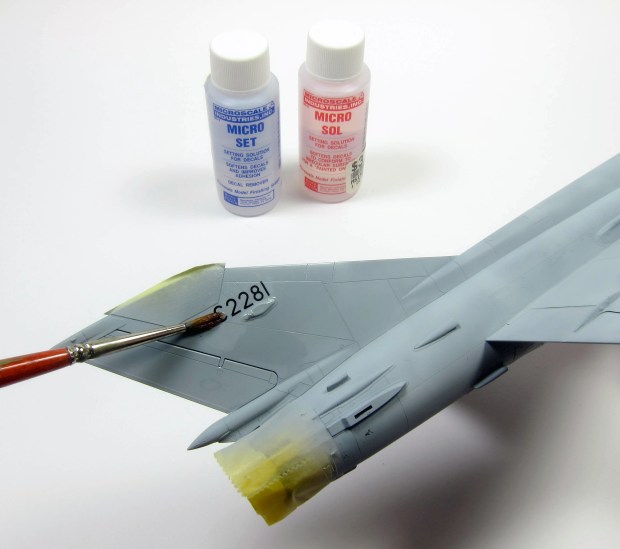
The aircraft number decal was placed using Micro Scale Micro Set and Micro Sol, per the manufacturer’s directions. Apply the Micro Set to the area where the decal will be applied, then apply the decal and pat down. Follow up with a small amount of Micro Sol applied to the decal. I usually wait until I have a few decals in any one area before I apply the Micro Sol, as it softens the decals and makes them very fragile until the they settle back down and the Micro Sol dries completely.
Some slight weathering (in the form of accented Chipping) was added to the tail marking using Ammo A.MIG-1008 Dark Wash and Odourless Enamel Thinner A.MIG-2019.

The wash was applied broadly using a brush.

After allowing the wash to dry, it was wiped away with a cotton bud dampened with the odourless thinner.

After the wash was thoroughly dried, a flat clear was applied to seal the decal and to flatten the sheen (in this case: Pollyscale Flat Finish)

At this point, I decided that more contrast between the various gray panels was needed. I mixed a lightened shade of the base gray and sprayed it onto certain panels that would be visible after the general chipping stage.

I also applied some light streaking to vertical surfaces just to add some visual detail to those areas, assuming I would chip them more heavily. This ended up not being the case in the end.
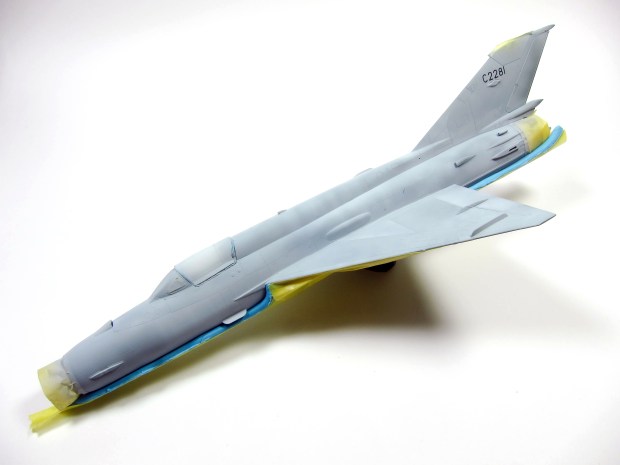
Preparation for the camouflage overspray commenced with masking the lower gray surface demarcation with a roll of Blu Tak. Broader areas were filled in with Tamiya masking tape.

A HEAVY application of chipping fluid was applied per the product instructions. 2 applications were made in anticipation of heavy chipping. Every step after this one had to happen quickly and in rapid succession. A long evening of free time was set aside so that I could move uninterrupted through the process. I feel that this is critical to this type of finish.

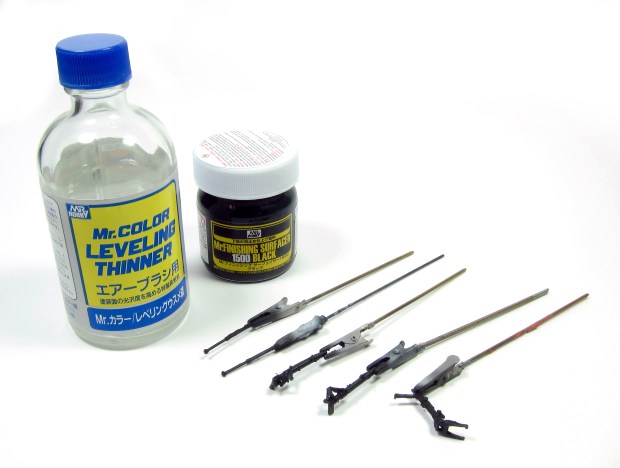
While the chipping fluid was drying, the camouflage colors (XF-57 and XF-51) were prepared using out-of-the bottle Tamiya colors that were determined to be a close match to reference photos. Due to the fact that I didn’t want them to adhere too well, I thinned them with a slightly higher than normal ratio of Tamiya X-20A thinner.

A thin and dry coat of the tan color (XF-57) was applied first. By “thin and dry” I mean that the paint was thinned a bit more than I normally would, and that it was applied using a higher pressure than normal, in a thinner layer than normal, only until sufficient opacity was achieved.

Masking of the camouflage was done using Blu Tak rolled into “snakes” and pressed in place per reference photos. After the outlines were established, I filled in the shapes with bits of Blu Tak stretched into small sheets. After the shapes were established and filled, I went back over the masking to press small inside corners tighter against the fuselage to avoid excessive overspray under the edges of the Blu Tak where it spanned inside corners. The next color (Tamiya XF-51) was mixed for spraying.

The Tamiya XF-51 applied using the same mixing and application approach as the previous tan color.
The masking removed. and some subtle panel accenting added using the same Tamiya paints.

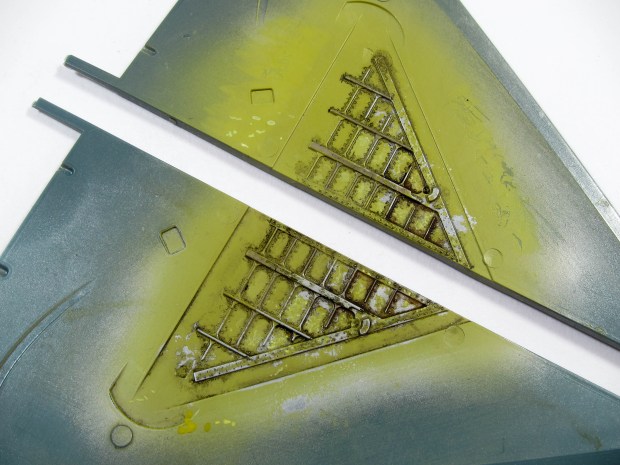
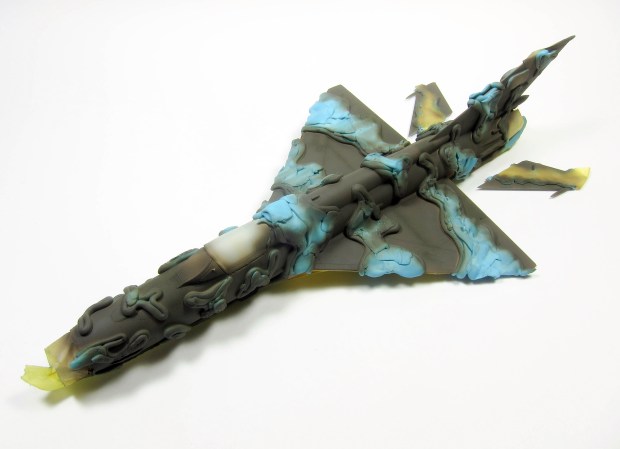
This is where you will begin to see if your application approach was properly executed, and where you must work quickly and attentively. A small but stiff old brush was dampened in water and areas of the airframe most prone to chipping (according the my reference photos) were “attacked” in a probing manner. A bit of investigation is useful here, as you will find that some areas will naturally chip more readily than others, and using the same pressure and aggressiveness on the whole model will yield different results in different areas. The result could be an uncontrolled and unrealistic appearance. You really want to work to achieve control and not a haphazard appearance. Learn to “read” what the paint is doing as you apply water, as you first begin to scrub at the paint, and as the paint begins to come off. Manipulation of these various micro-stages will allow you to achieve the most realistic results.

Results after the chipping session. Note the focus around the cockpit and wing leading edges. Apparently this is where these Migs shed the most of their camouflage.

Results after the chipping session.
Results after the chipping session.

Results after the chipping session. In hindsight, my application of the green color was a little bit too sturdy, and it resisted chipping until well after the adjacent tan areas were long scrubbed away. In this case, I was still able to manipulate the finish to my satisfaction, but I learned something for next time: multiple layers of paint over chipping fluid will make each layer a little more tenacious, so they need to be adjusted accordingly.

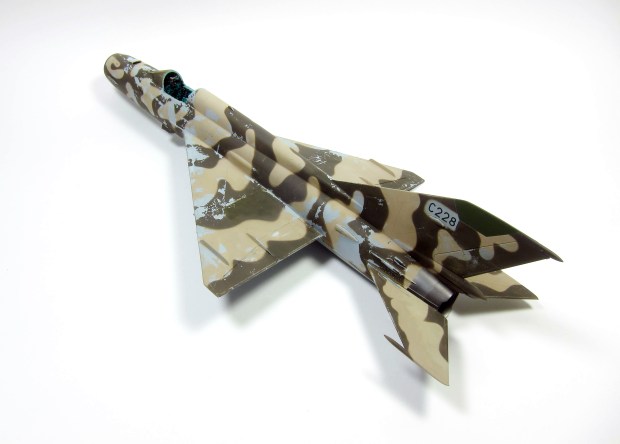
Future was applied In preparation for decaling and weathering.
Future was applied In preparation for decaling and weathering.

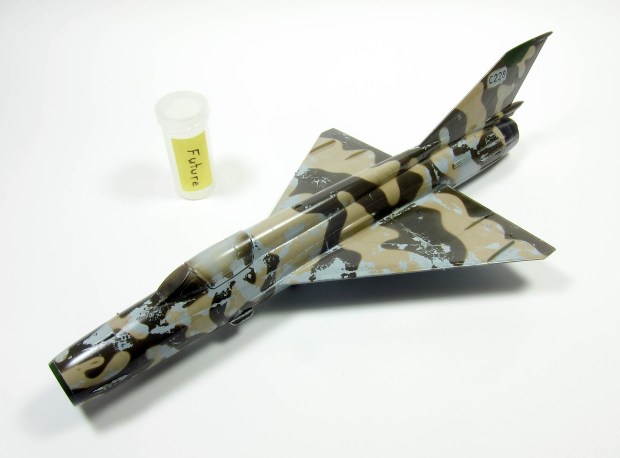
Aeromaster sheet 48-240 “Flashpoint Fishbeds” supplied decals for the Indian Air Force example I was modelling. The instructions and decals represented the airframe I was modeling, prior to the application of the camouflage.

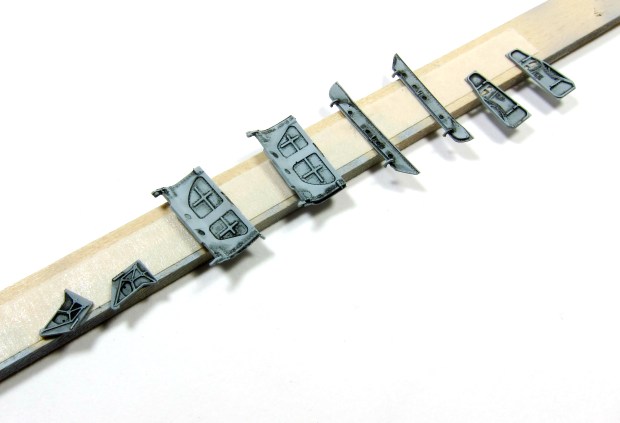
Decal application in progress using Micro Set and Micro Sol.

Decal application completed.

Decal application completed.

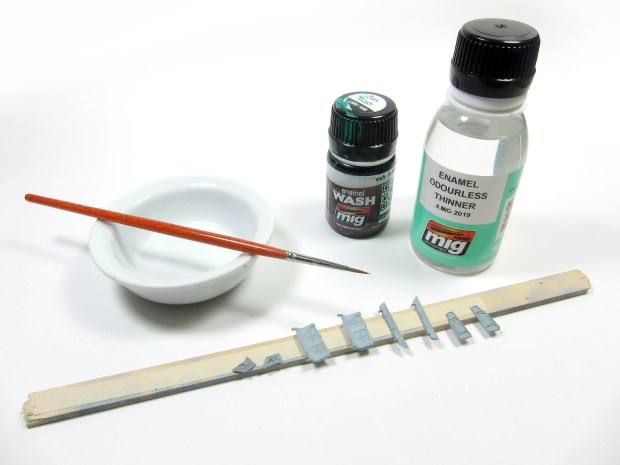
Overall airframe weathering commences with a pin wash on the lower surfaces. In this case I used a varied application of Ammo A.MIG-1008 Dark Wash, AK Interactive AK 121 OIF & OEF U.S. Modern vehicle washes, along with the Ammo A.MIG-2019 Enamel Odourless Thinner.

The wash is applied using a medium brush.
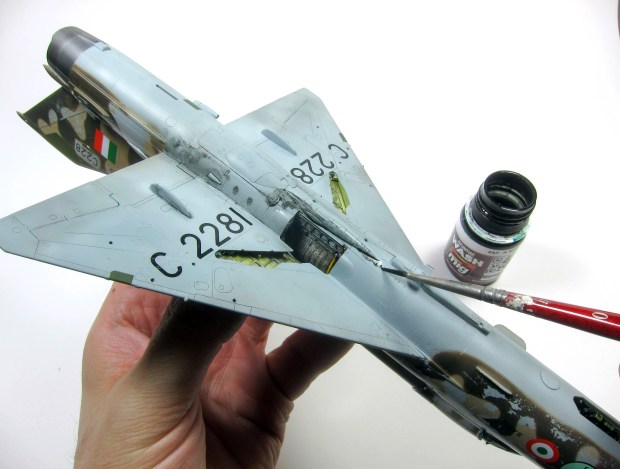
I tend to start out being a little sloppy with the application of the initial wash.

After allowing the wash to dry, a soft cloth (in this case an old T-shirt) is used to wipe away the dried wash.
A finer brush is used to go back and apply very local detail washes in details and areas where dirt and grime would accumulate.

The process is repeated for the upper surfaces using the darker Ammo A.MIG-1008 Dark Wash.

Selected panels and rivet lines were accented using a lightened shade of the underside color.
After the wash application process, a coat of Pollyscale Flat Flat Finish was applied.
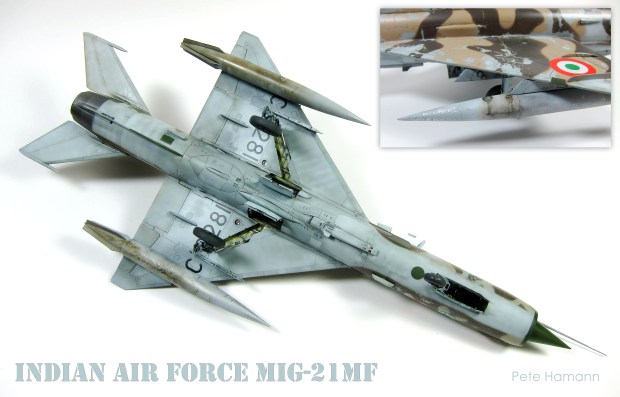
The model after applying washes and flat clear coat.
The model after applying washes and flat clear coat.

Final assembly took only an hour or so. All parts were added using thick CA glue.


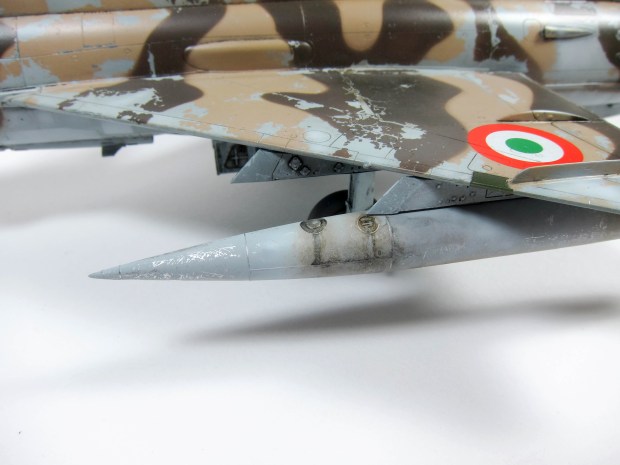
The chipped paint on the external fuel tanks was achieved by base-coating with Testors Model Master Metalizer Buffing Aluminum which was allowed to dry and then overcoated with a thin layer of the base gray. As soon as the gray was dry, a paint brush handle was dragged around areas of the fuel tank that would be subject to contact with ground crews. Then a detail wash of Ammo A.MIG-1008 Dark Wash was applied with a fine brush and allowed to dry without removing after it dried. An airbrush was then used to lightly “dust” the area with the same product to simulate previously cleaned fuel spills and staining.
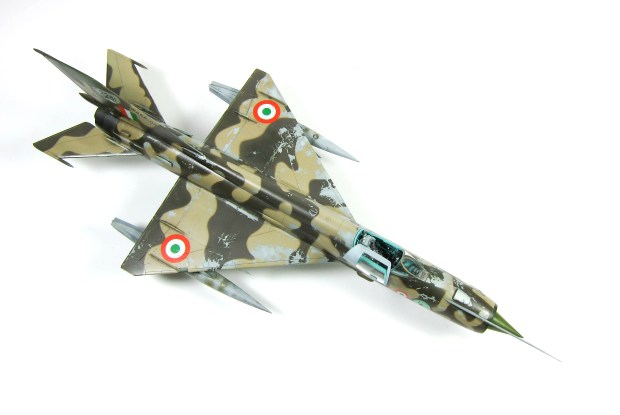
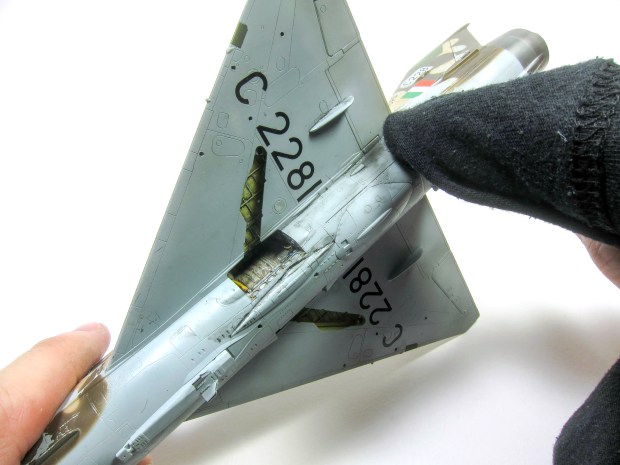
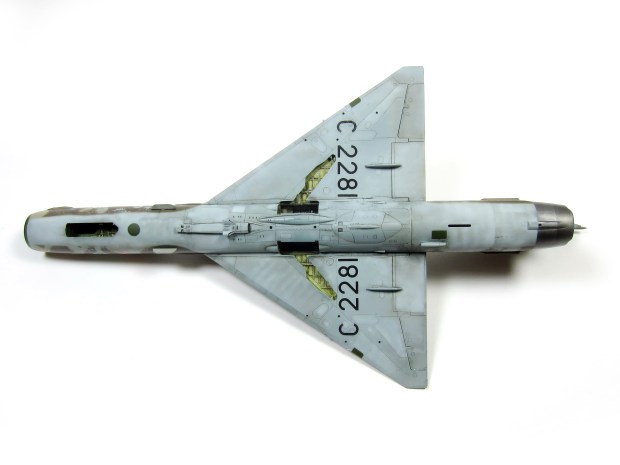
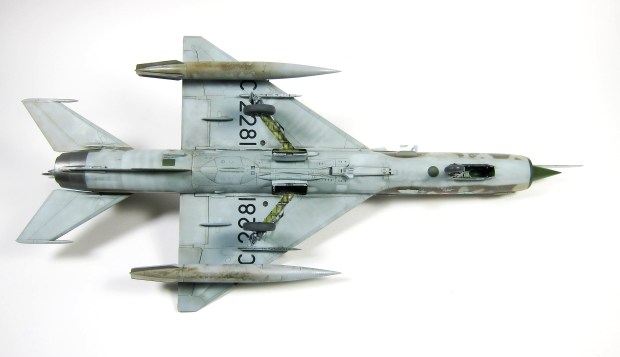
View of the underside of the finished model.

View of the underside of the finished model.
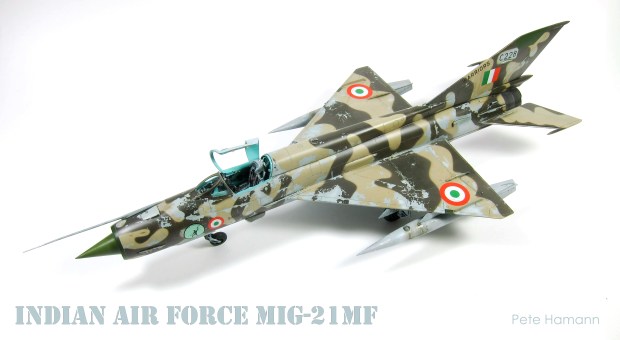
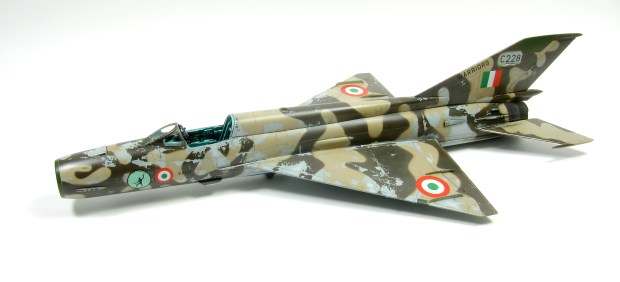
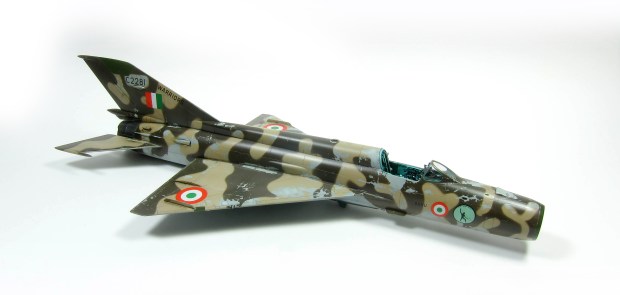
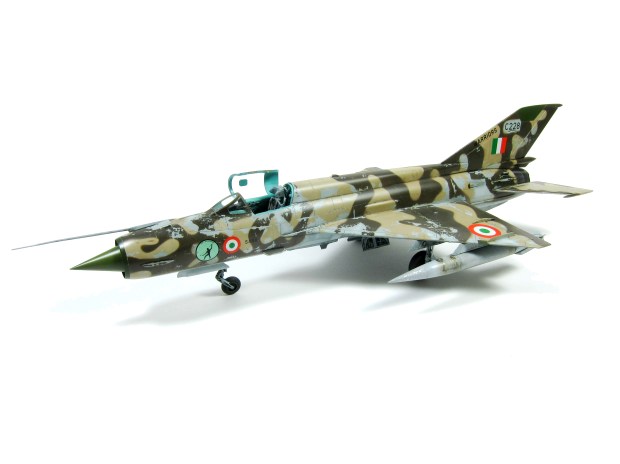
View of the finished model.