
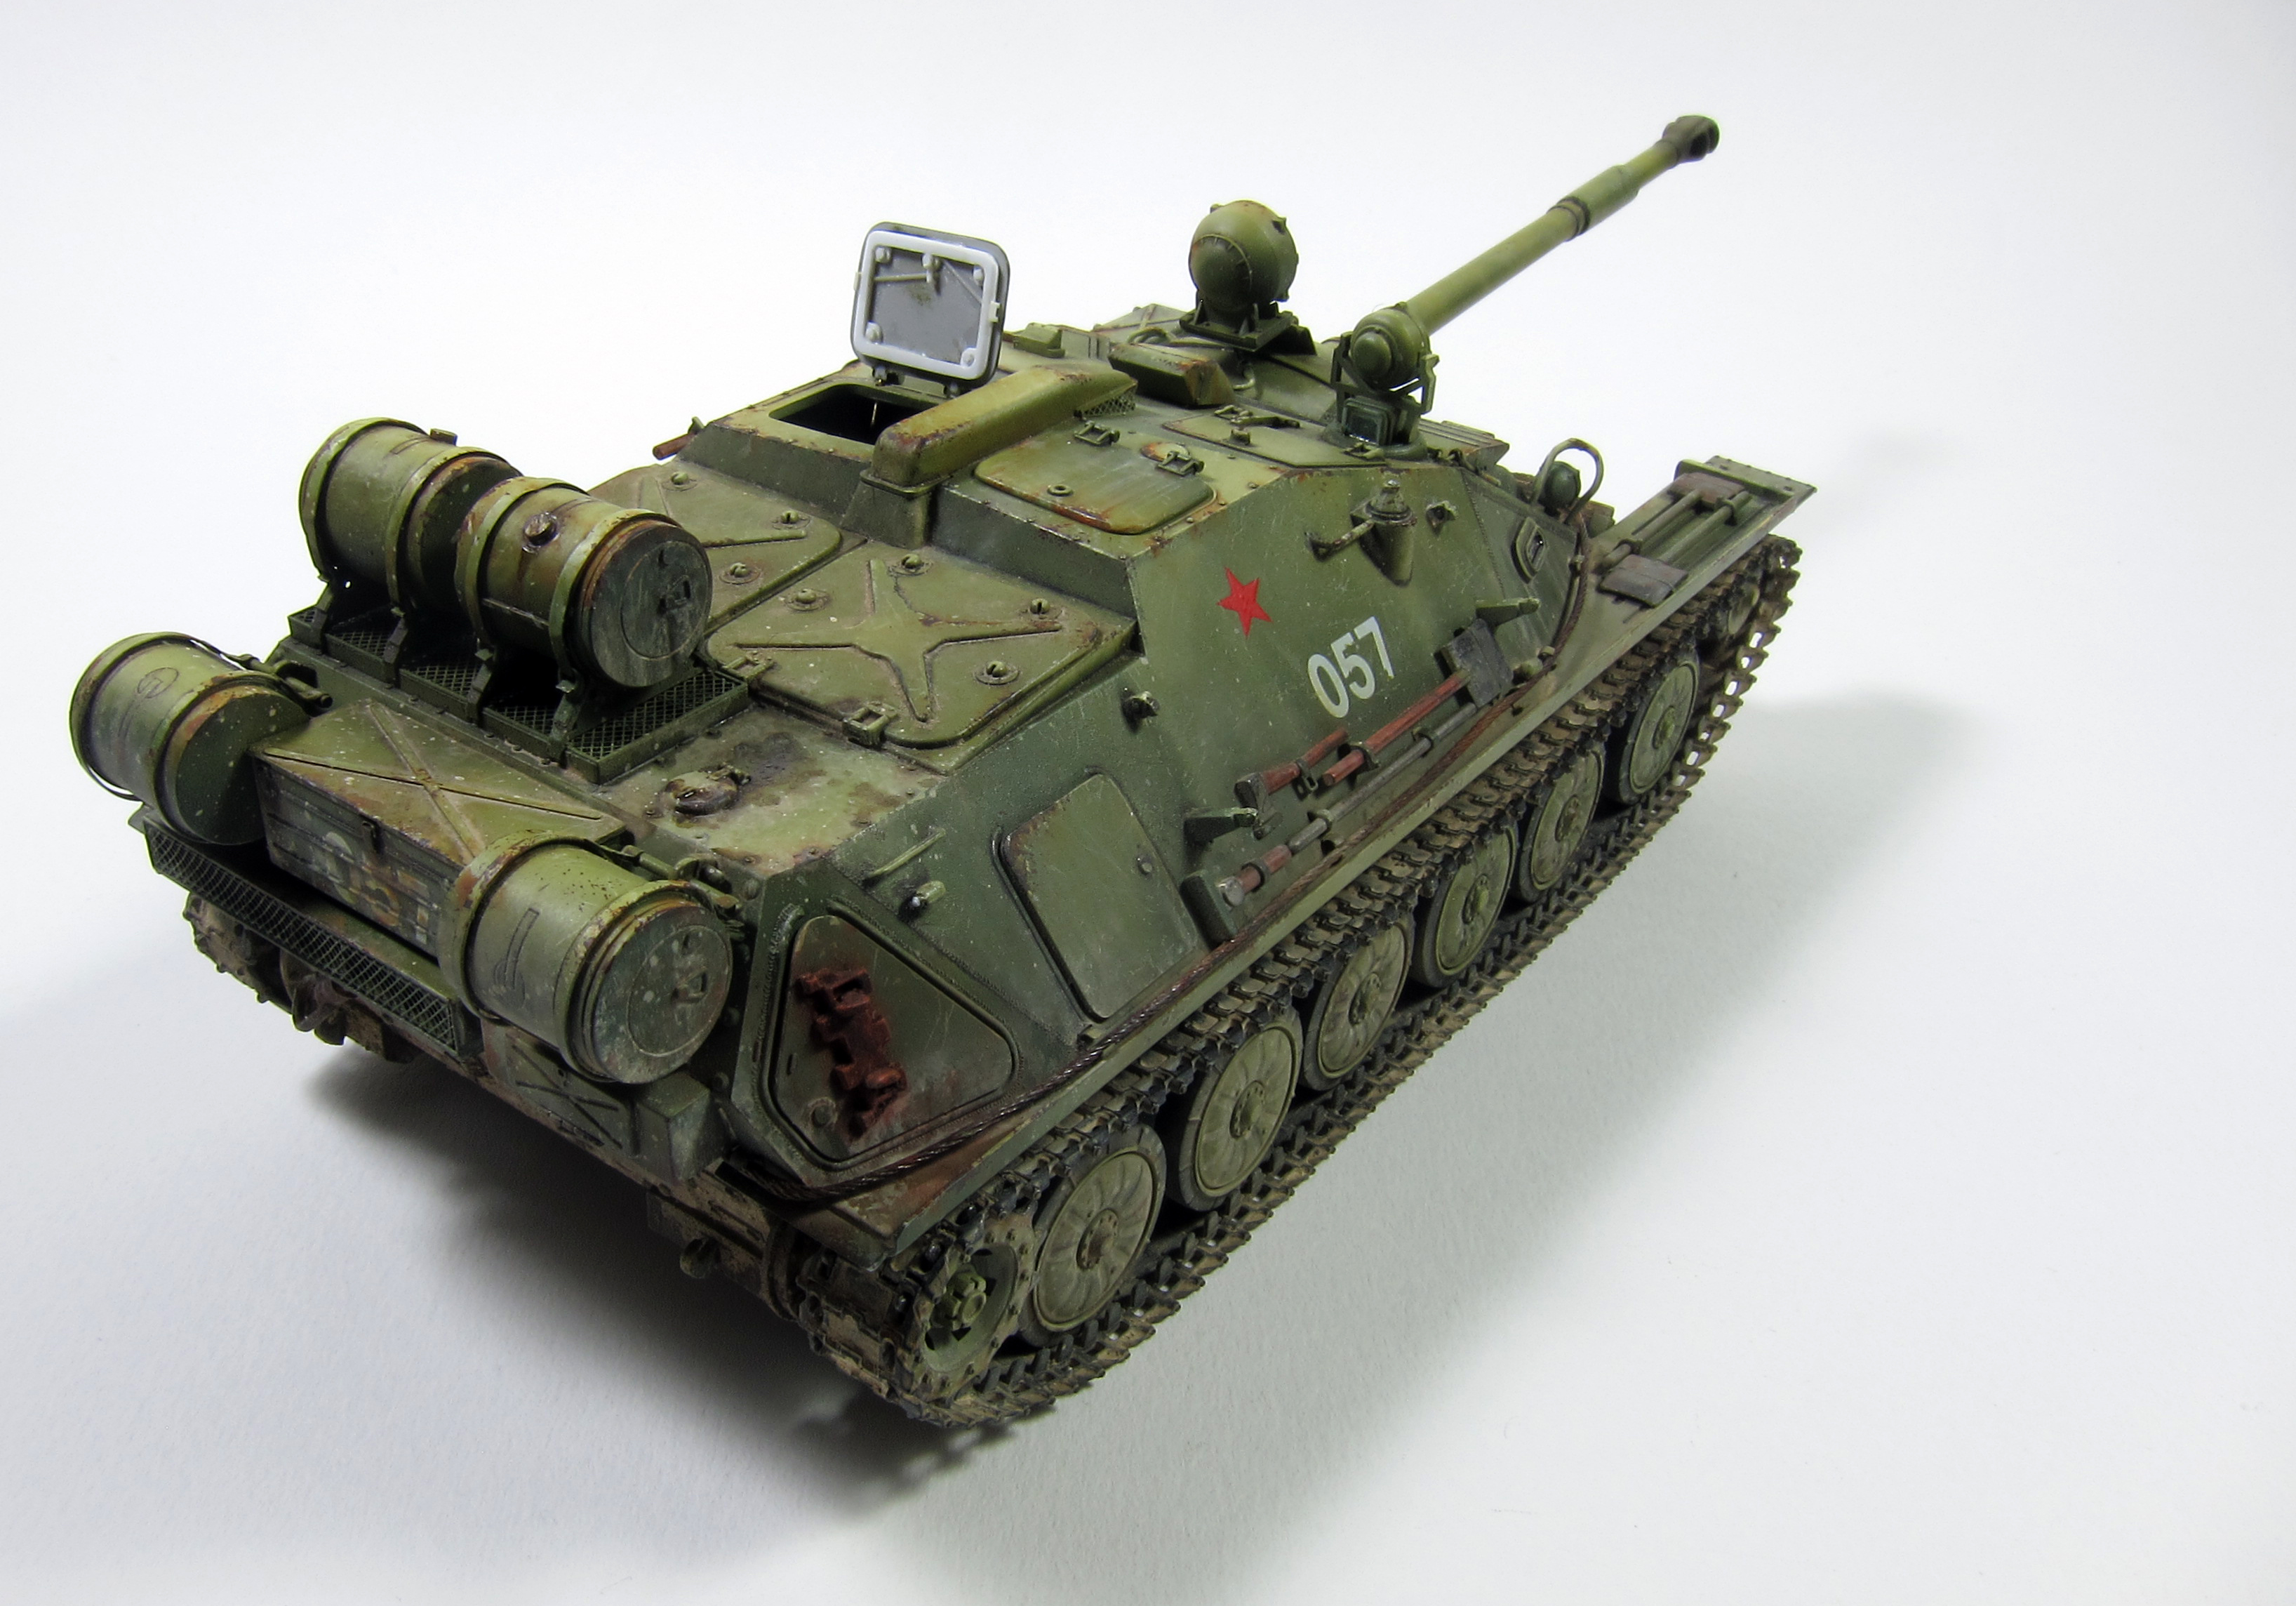
One of the things that has always bugged me about my ASU-85 has been the total lack of detail on the interior of the crew hatches. Even though eventually I’ll add a seated Soviet tanker, which will help hide the smooth flat surface, I’ve decided to add some detail to help liven the area up a bit. I’ve also decided to try to attend the IPMS Madrid show in Mid-March (in a week and a half!) and since this is the only model I’ve completed in the 12 months since last years show, and thus, the only thing I’ll have to put on the tables, I’d better get cracking!
I looked for reference photos online and couldn’t find any. Sometimes this can be a good thing, as it (hopefully) means that no-one else can either, so the odds of someone pointing out an inaccuracy are minimal.
I started by planning the general layout of the detail and decided on a rim or gasket-like appearance, with a few fasteners and the suggestion of a handle and latching mechanism. Once I had the idea in mind it was time to get busy. My goal here was to try to complete the rework (minus paint and weathering) in one build session. I also wanted to leave the exterior of the hatch undisturbed since painting and weathering had been previously completed.

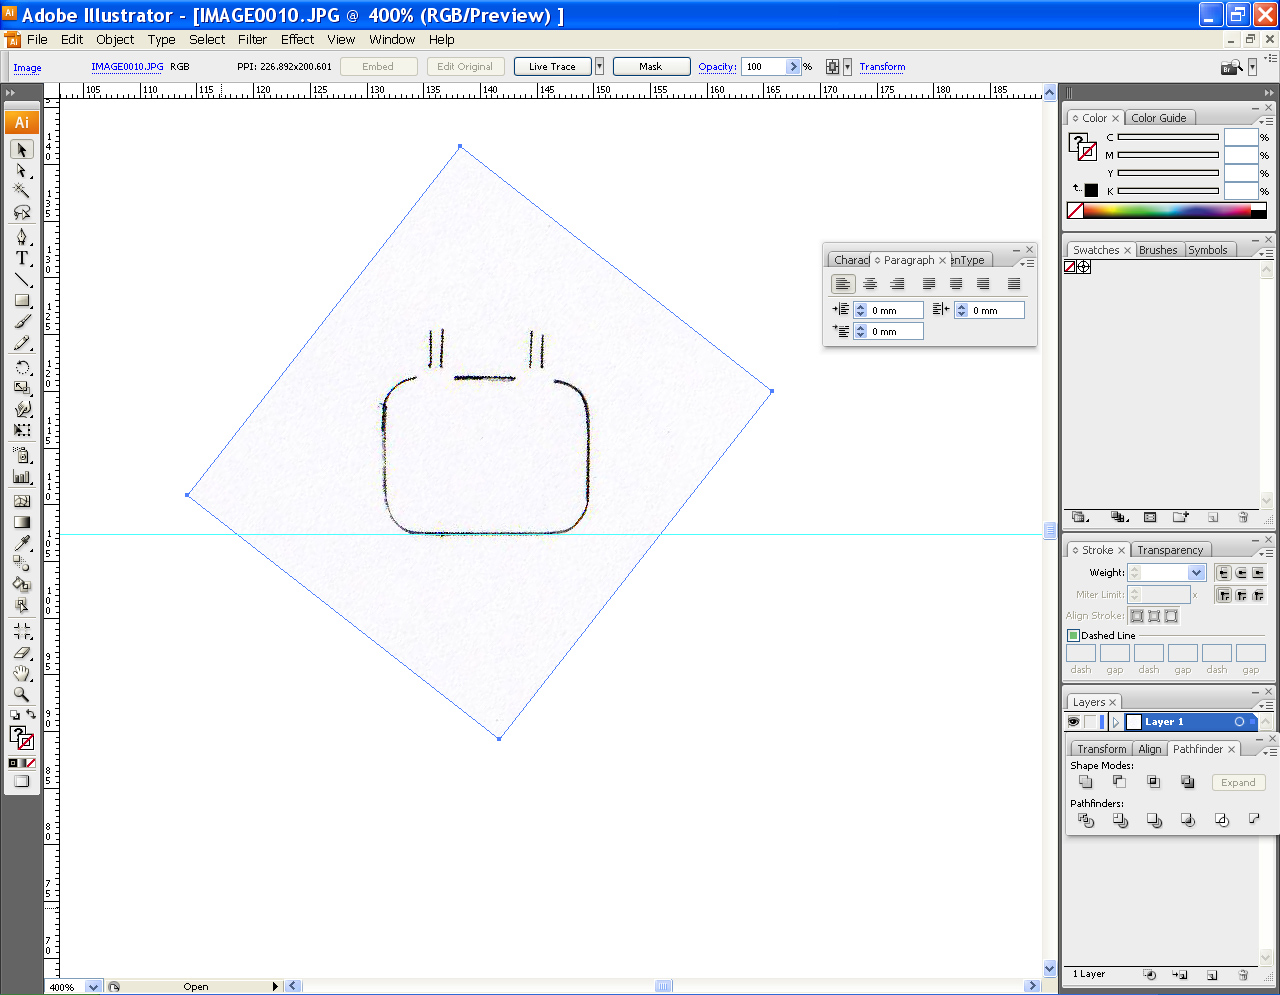
I started by tracing the hatch with a .5MM mechanical pencil.


Then I scanned the tracing and opened it in Adobe Illustrator.
I offset the scanned lines 2.5MM to the inside to account for the thickness of the pencil lead…
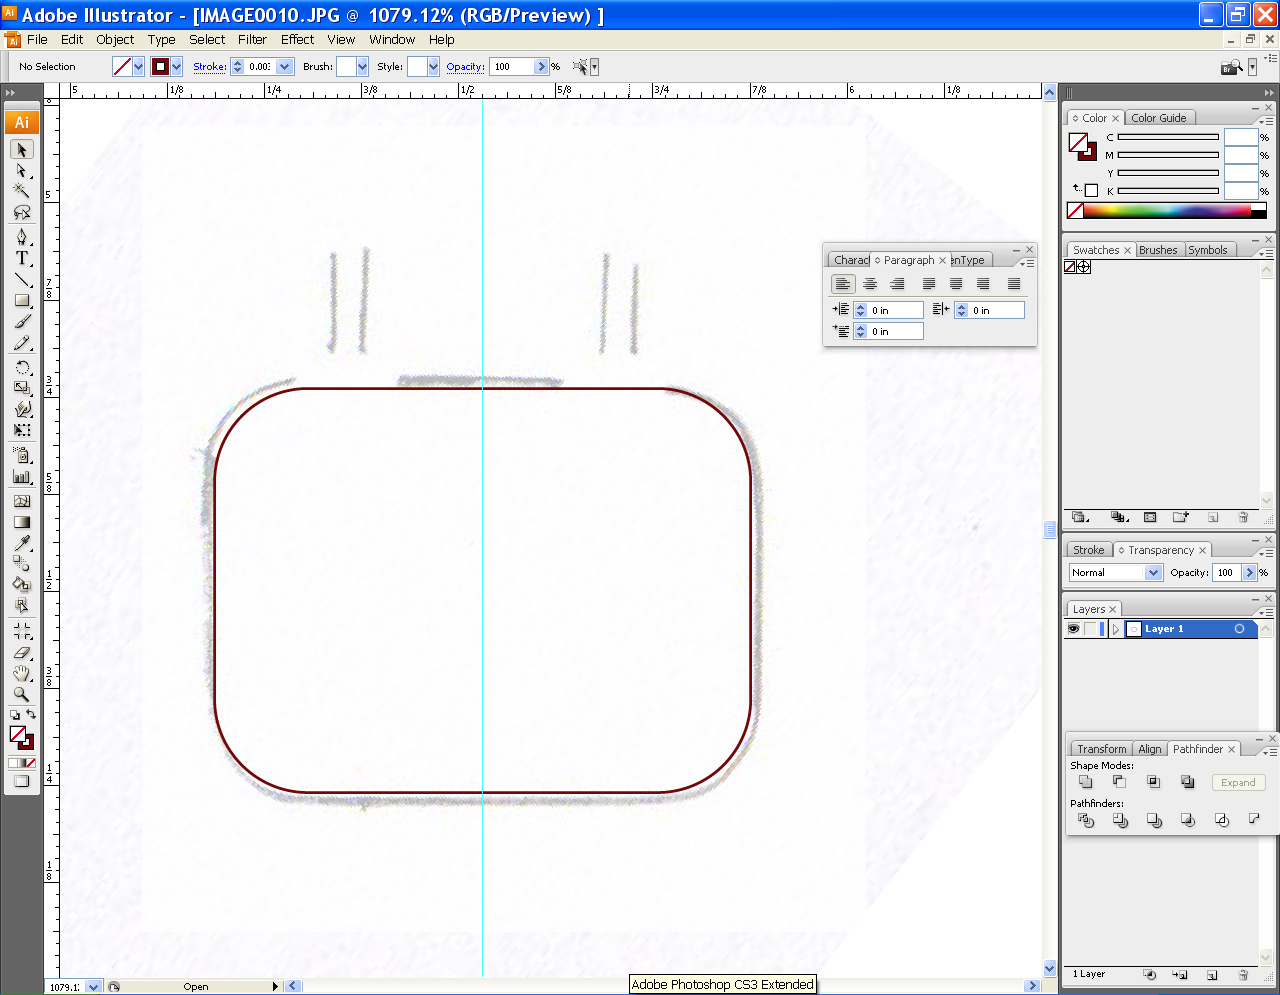
then measured the kit hatch to confirm that the Illustrator drawing was sized correctly compared to the kit part.

I then added the gasket width and a few other features…
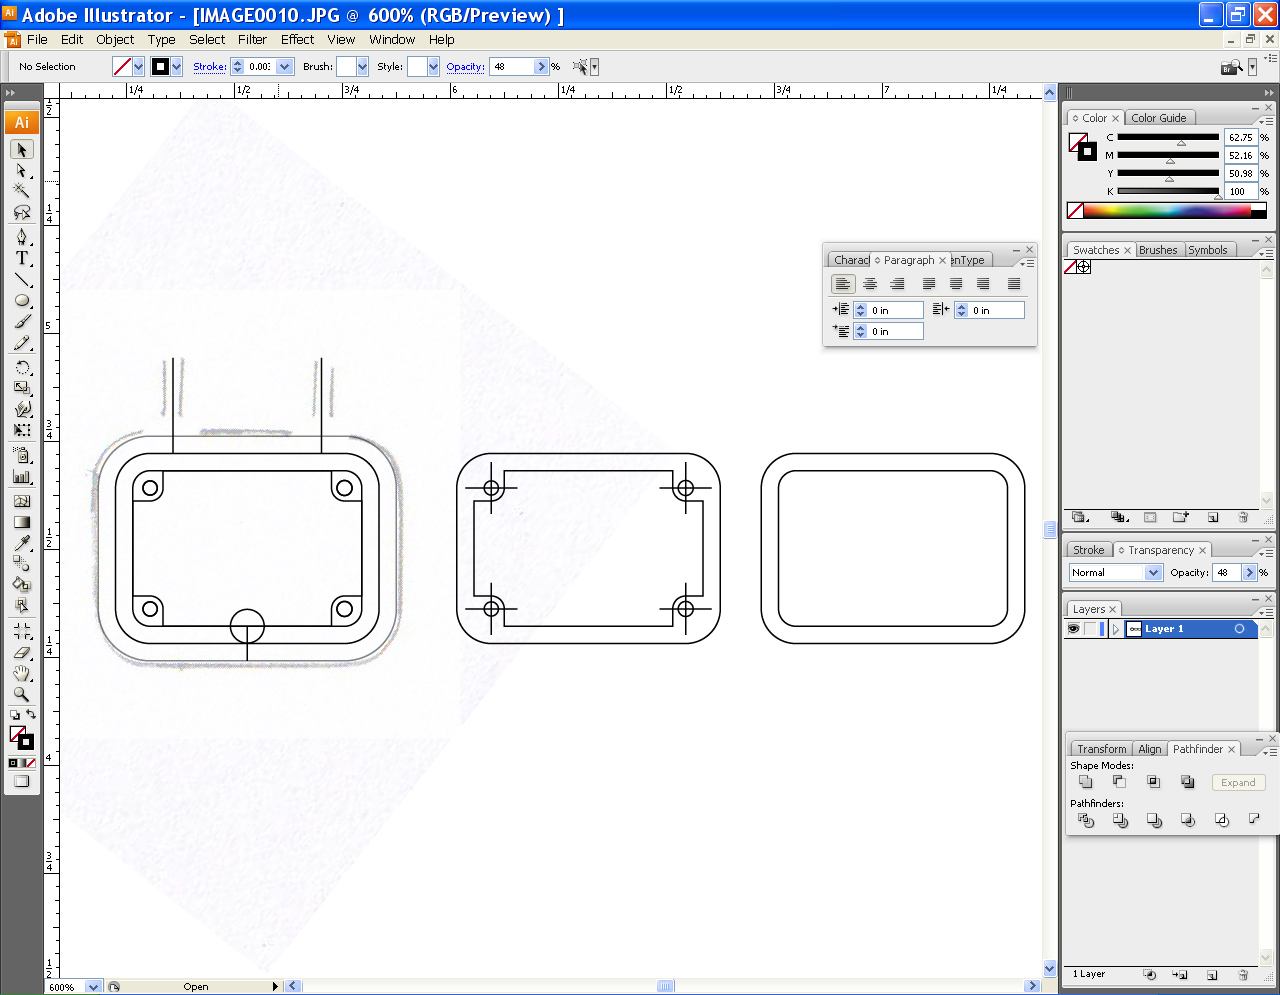
copied the pattern a few times and printed it out onto plain paper. Here you can see the kit hatch laying on the print to confirm the size.
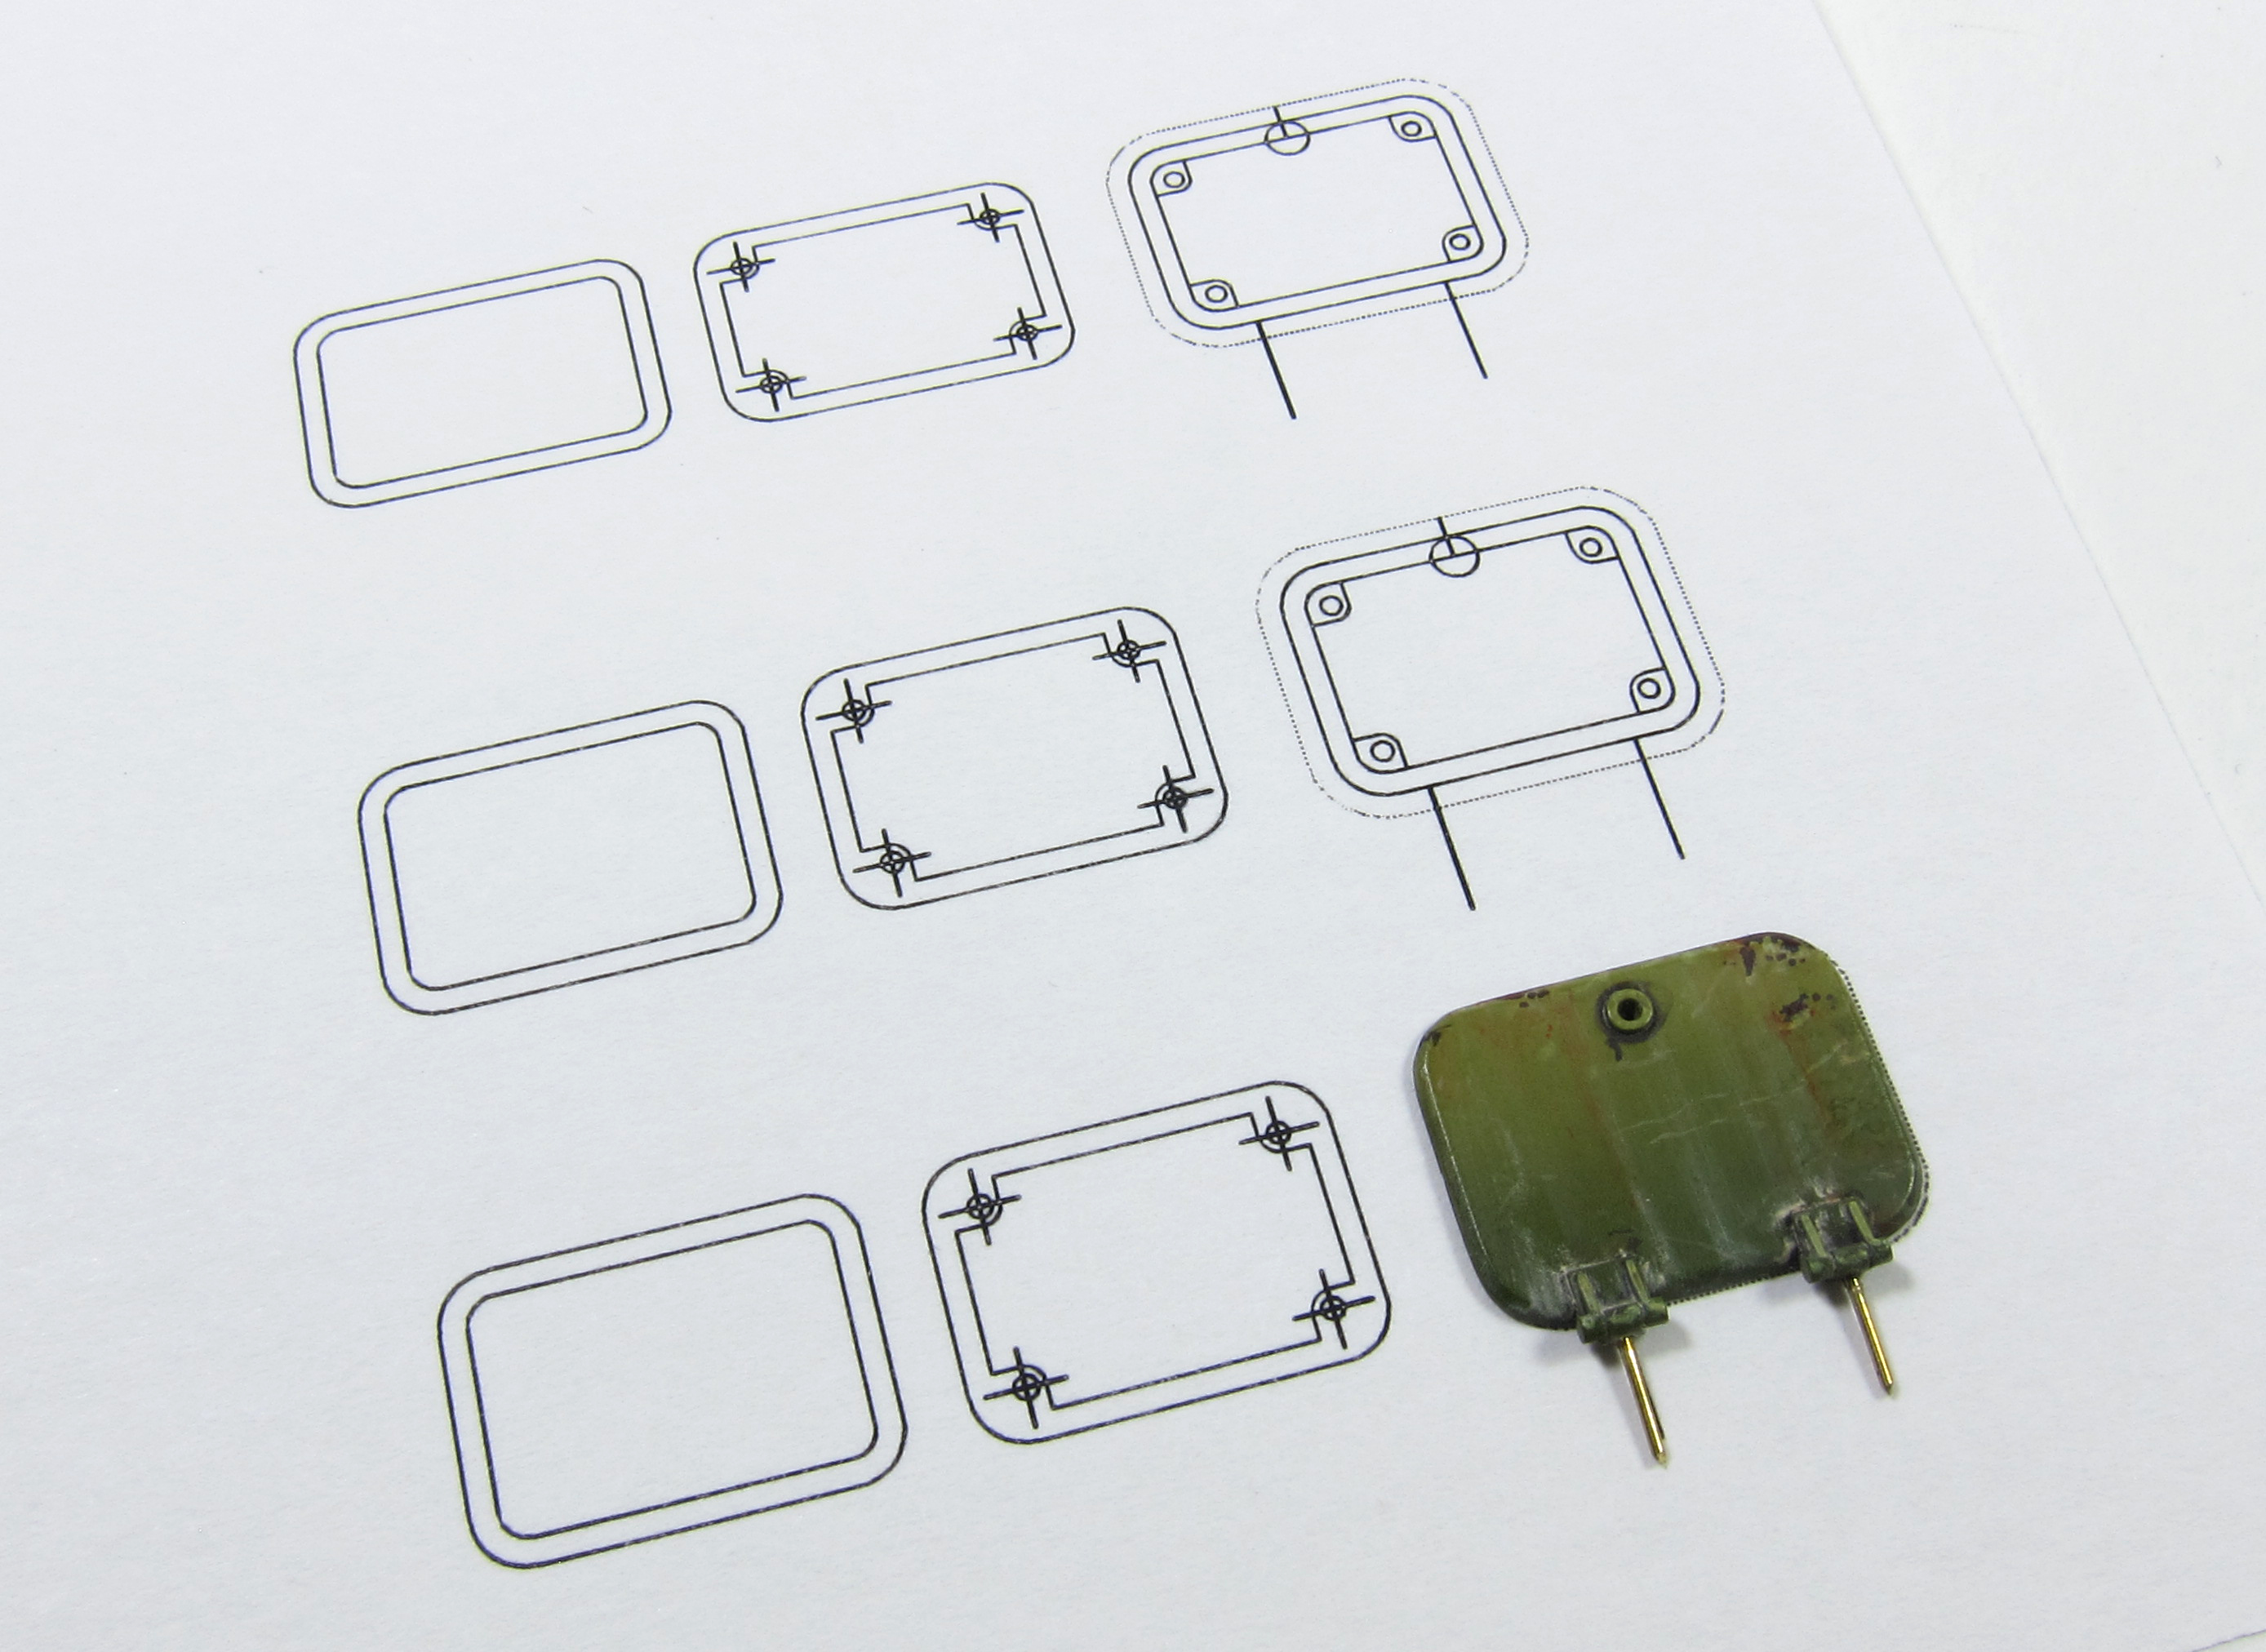
I attached the pattern to some .010 sheet styrene using double-sided tape.

I started by punching out the inside corners with my new RP TOOLZ round punch and die (2MM diameter).

And cut away the rest of the interior contours. Then it was just a matter of squaring everything up with a file and adding some details with styrene strip, punched bolt heads, stretched sprue and some thinly sliced styrene extrusions.

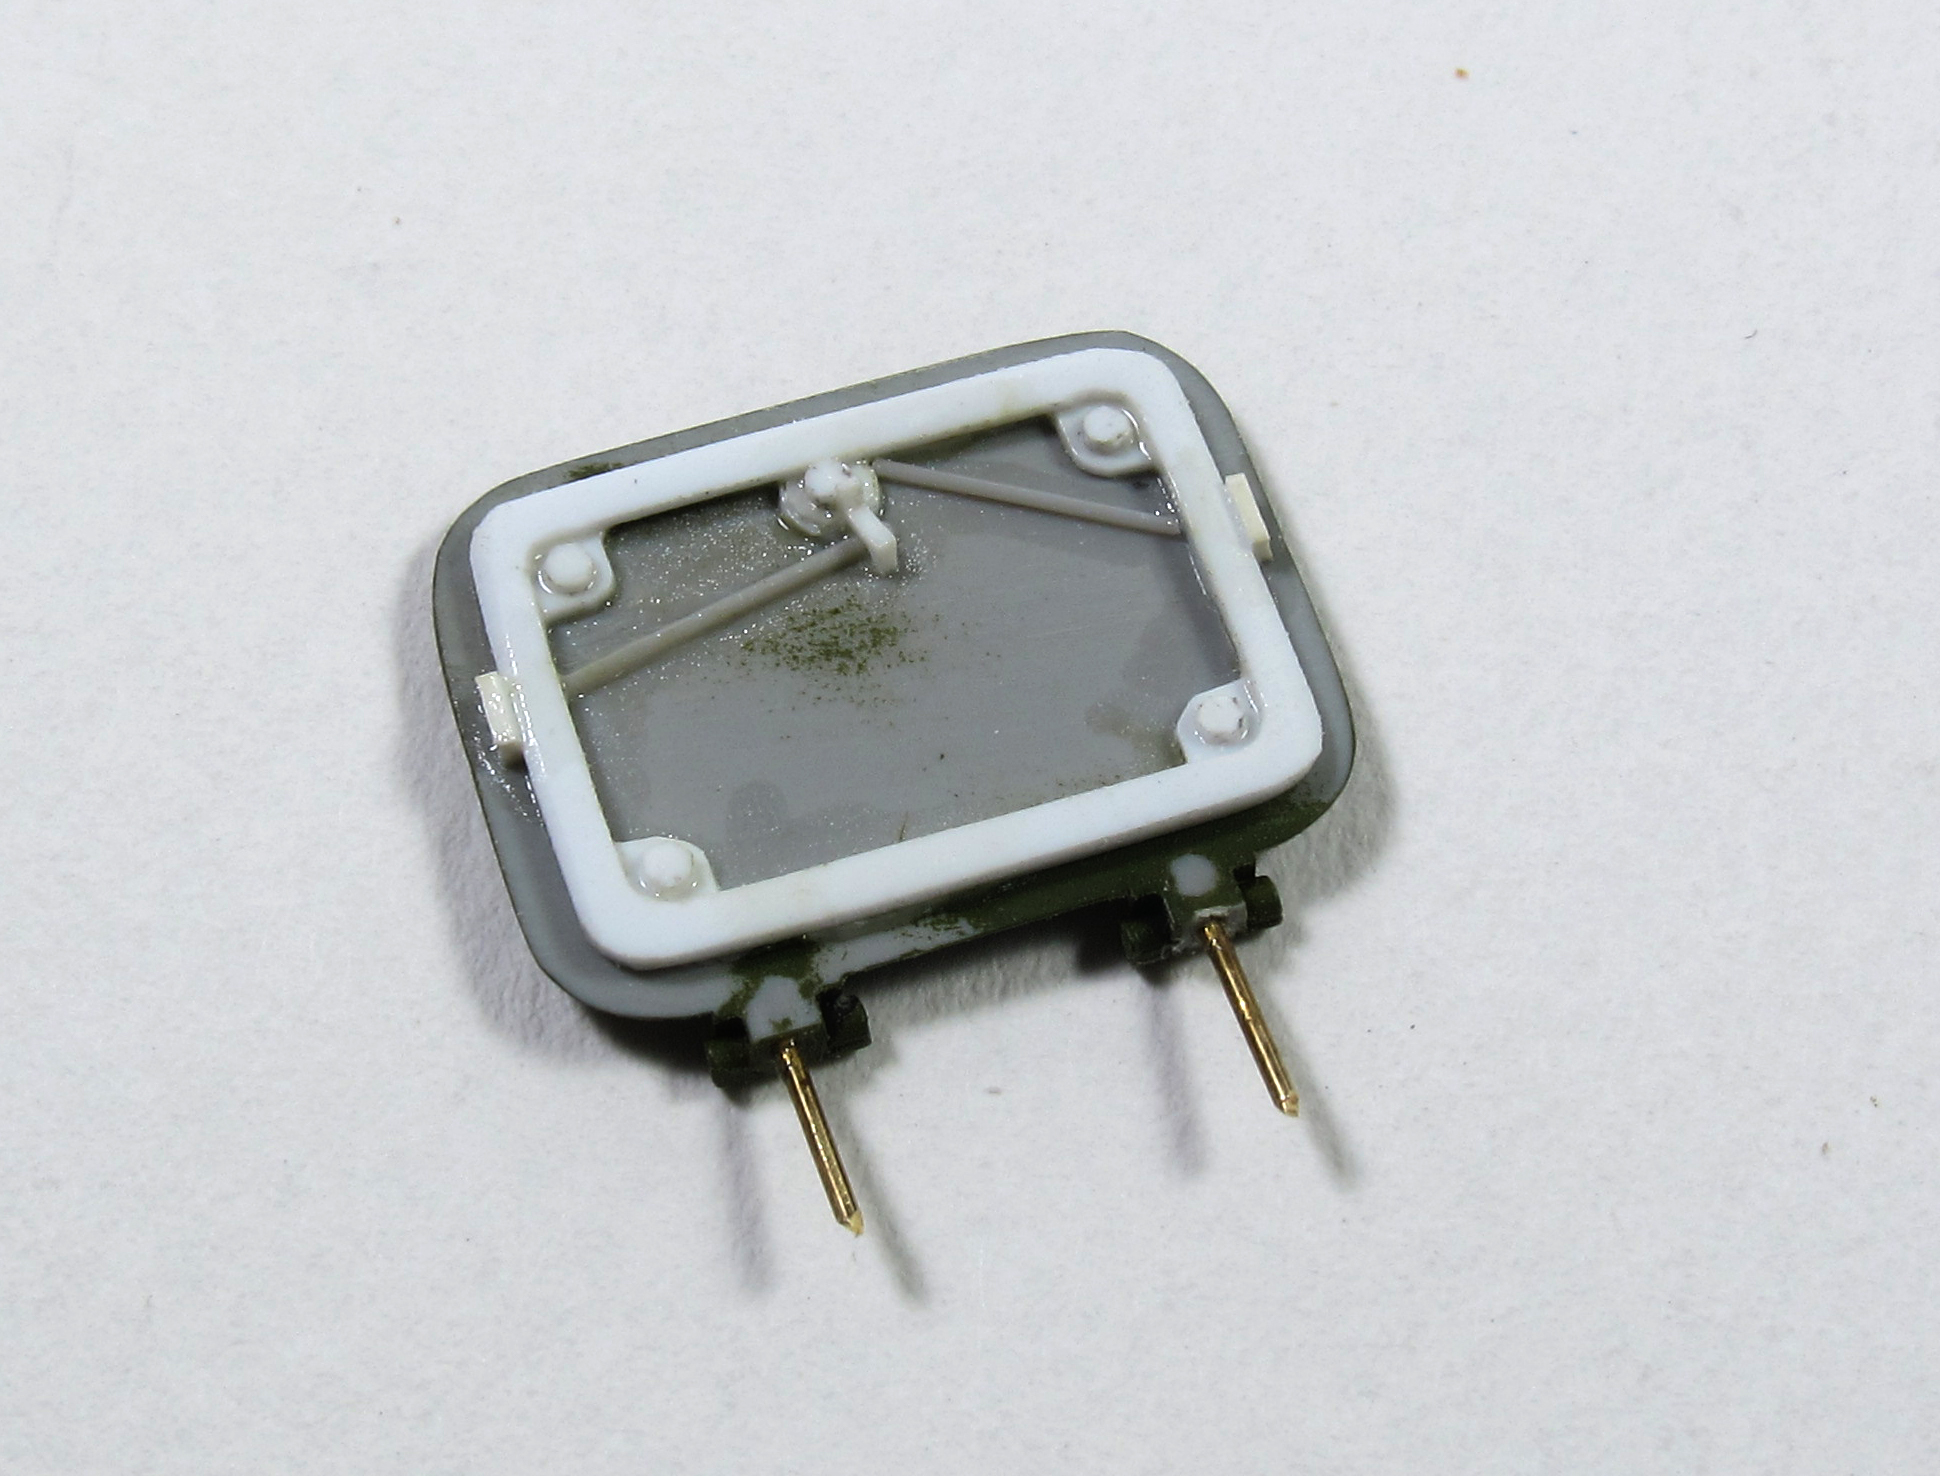
I think that the new hatch is a huge improvement over the original featureless kit part.
The whole process took a little bit over an hour and was well worth the time, in my opinion. Now to see if I can get it painted in time…
Stay tuned!
