

There has been a lot of buzz lately surrounding Rapid Prototyping, or as it’s commonly called: “3D printing”, in the modeling community. While it’s true that it is an exciting technology, we’re still a very long technological journey away from practical and affordable applications for the average modeler. The day you can take your Iphone21 S into your local museum, scan that FW-190 and print out a model kit on your Mr. Make-a-Part 2000 is still a long way away. Oh well – what’s the harm in dreaming? It’s the dream that inspires…
There are, however, many practical applications for 3D printing technology today. One of these applications is the creation of masters for aftermarket resin accessories. Companies like Eduard (for their Brassin range) Aires, DEF Models, Live Resin, HAD Models, Falcons Bench and many more, are seeing the value in creating models in CAD software and using those models to have masters printed. But creating these models is not as simple as scanning the real item and punching the scale into a computer. There’s still no “make model” button. It takes experience and skill to design a scale model for printing, one which has value beyond just holding something “neat” in your hand.
As a daily CAD user, I’ve developed the “flow” and practices that allow me to quickly break down complex shapes and surfaces to create a plan for modelling them efficiently, and the skills to put that plan into action in various software packages. As a modeler and a product designer, I can look at a part and evaluate what a user is likely to want or expect in a product. As an industrial designer and former production machinist (who also happens to have done a lot of resin casting), I’ve developed the ability to look at a part and see it in terms of a production process. As someone with a full-time job and little time for my hobby, let alone a cottage industry aftermarket business, I know that efficiency is something that MUST be designed into the production process at every opportunity if the effort is to remain sustainable and enjoyable over the long run.
So when an aftermarket company approached me and expressed an interest in having some very small detail parts modeled in CAD and printed for the purpose of using those prints as masters for casting, I knew that I could leverage my skills and background against the new technology to help this company bring their product to market as efficiently as possible while creating a high quality product for the end user, the modeler.
The first step was to define the end goal – the deliverable:
Masters for resin casting 1:35 scale Leopard tank mantlet plugs for the Leopard 1 and 2 (2 types of plugs)
8 plugs per vehicle.
1:1 mantlet plug

Easy! But let’s look at it through the perspective of the company who would be offering these pieces.
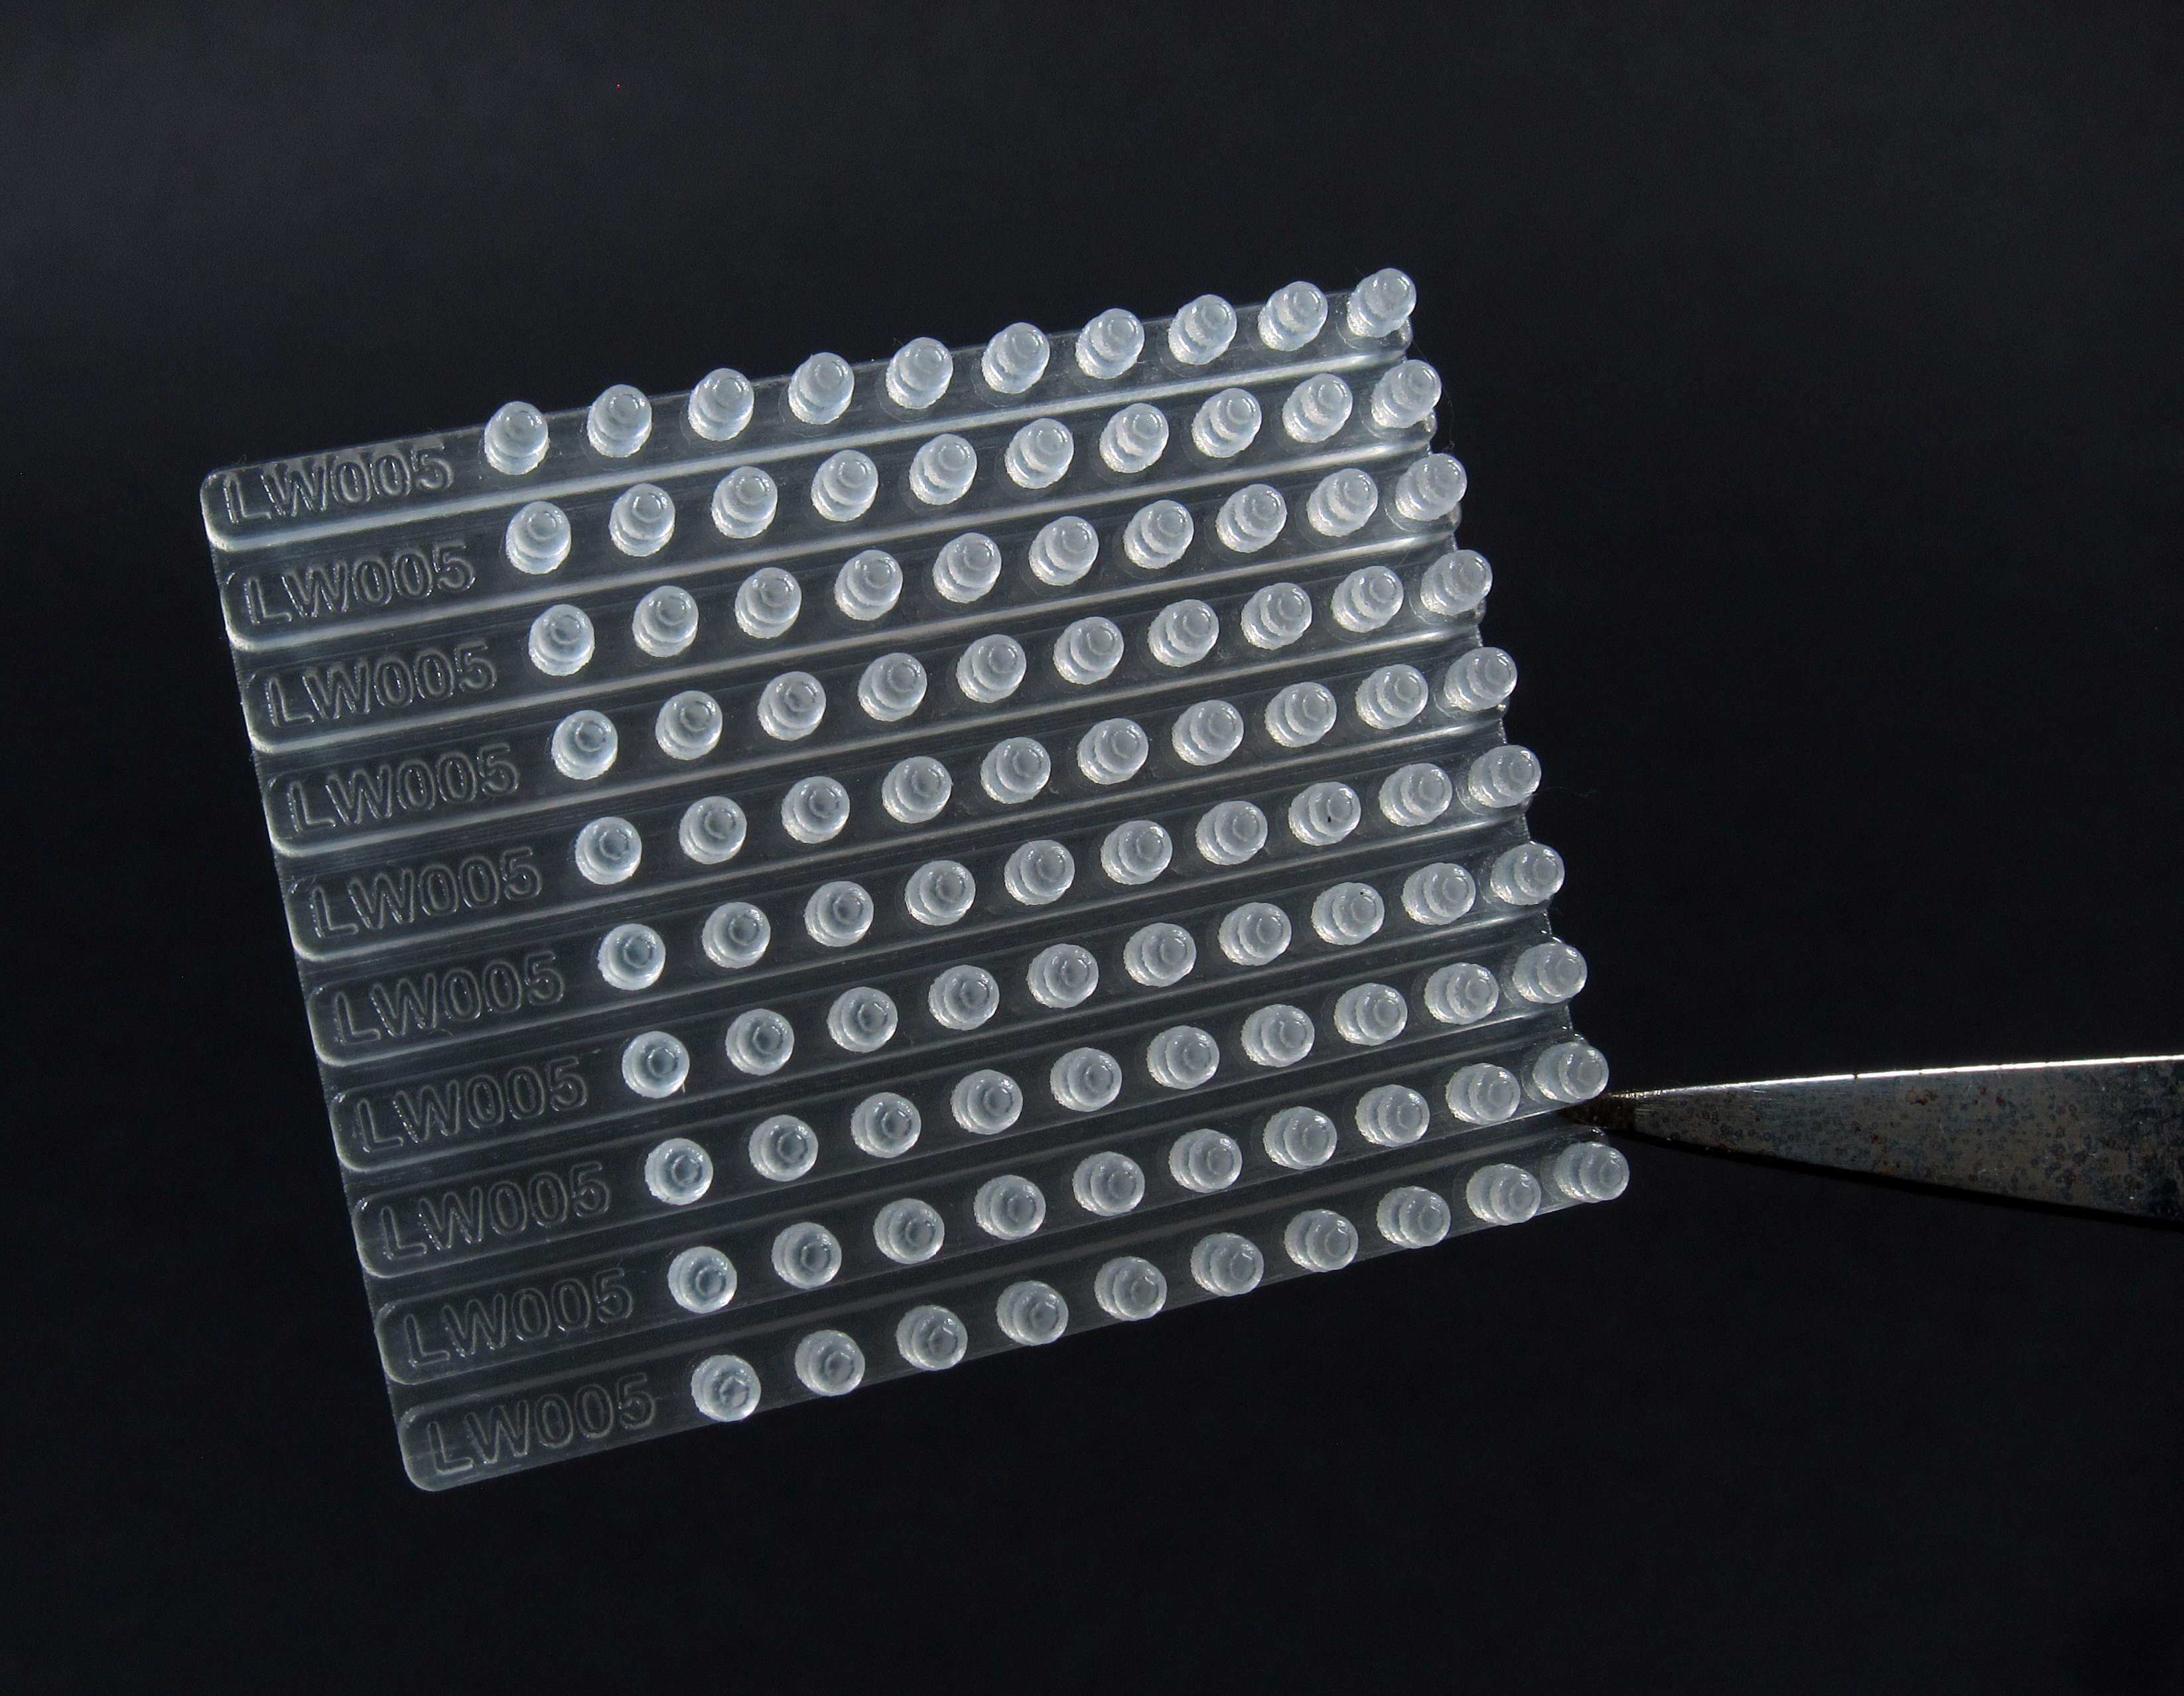
They would need to select a casting vendor (or plan on casting them themselves) and have the parts cast. We’re talking about some pretty tiny parts: less than 2MM in diameter with details less than .25MM thick! The design of the parts should facilitate easy handling for the caster, packaging, and the modeler. It was an easy decision to design a “sprue” arrangement to hold the part and make casting and handling easier. I figured that it would be a negligible amount of added print time, material, and casting resin to extend the sprue enough to add 2 spares of these tiny parts to the sprue as one of these parts from each set was bound to be sacrificed to the “carpet monster”. OK, so now we had a sprue, or more accurately a casting block, that was about 30MM long and still only about 3MM wide. That’s hardly enough to mix a batch of resin, and mixing that small of a batch is likely to end up with an “off” mixing ratio, leading to uncured, wasted material and time. Casters typically overcome this problem with small molds by making “gang” molds. These are molds that produce multiple copies of an item with each casting cycle. This is done by making one mold of the original part, casting multiple copies, then making a mold of those parts that will create multiple copies of the item with each pour. Often detail is lost, shrinkage accumulates, and the product suffers. Overcoming the need for this multiple generation process is a perfect application for CAD and 3D printing! In CAD it’s a simple matter to pattern a feature or a body to create a “gang” master. I figured that if the caster could get 10 blocks of parts per pour, an economy of scale would be established immediately. After the main block is removed from the mold, the individual blocks could be snapped off of the “gang” block and dropped into packaging. All that was left was to add an additional bit of length so I could add a product number to each block, elevating the perceived level of quality, and we’d be ready to upload the file to the print bureau.


I uploaded the file and sent a link to the aftermarket producer letting him know how to order his prints. I also uploaded the STL file (necessary for printing) and another common type of CAD file (for his archiving in the event of future work CAD needs) to DROPBOX and sent him the link to the files. At that time, I ordered an archival print for my own use. My part showed up a week later and it looked fantastic! It’s really amazing what the new SLA and SLS machines can do. Be aware that some finishing is still usually required to get smooth surfaces on the masters. A little knowledge and a good working relationship with the print bureau can help minimize the amount of work required to prep the prints for casting.
While 3D printing might not yet have reached full maturity, where a modeler just has to hit the magical “make part” button (don’t forget, I’ve only addressed the CAD model side of the equation – I haven’t even touched on the skills required to successfully operate a 3D printer) there are still some great applications for the technology, and advances in affordability, fidelity and ease of use are constantly being made. Who knows – it may not be long before you’ll have to look at your stash shelf to see if you have room before you hit that button again!
The Leopard 1 and Leopard 2 Mantlet plugs will be available soon from LeopardClub http://www.leopardclub.info
They will include photoetched retainer chains.
http://www.facebook.com/leopardfibel
I can be contacted at Peterjhamann@gmail.com , or https://www.facebook.com/PeterHamannModelServices


