
I recently had the pleasure of spending a morning in the workshop of the talented and affable Jose Luis Lopez Ruiz.
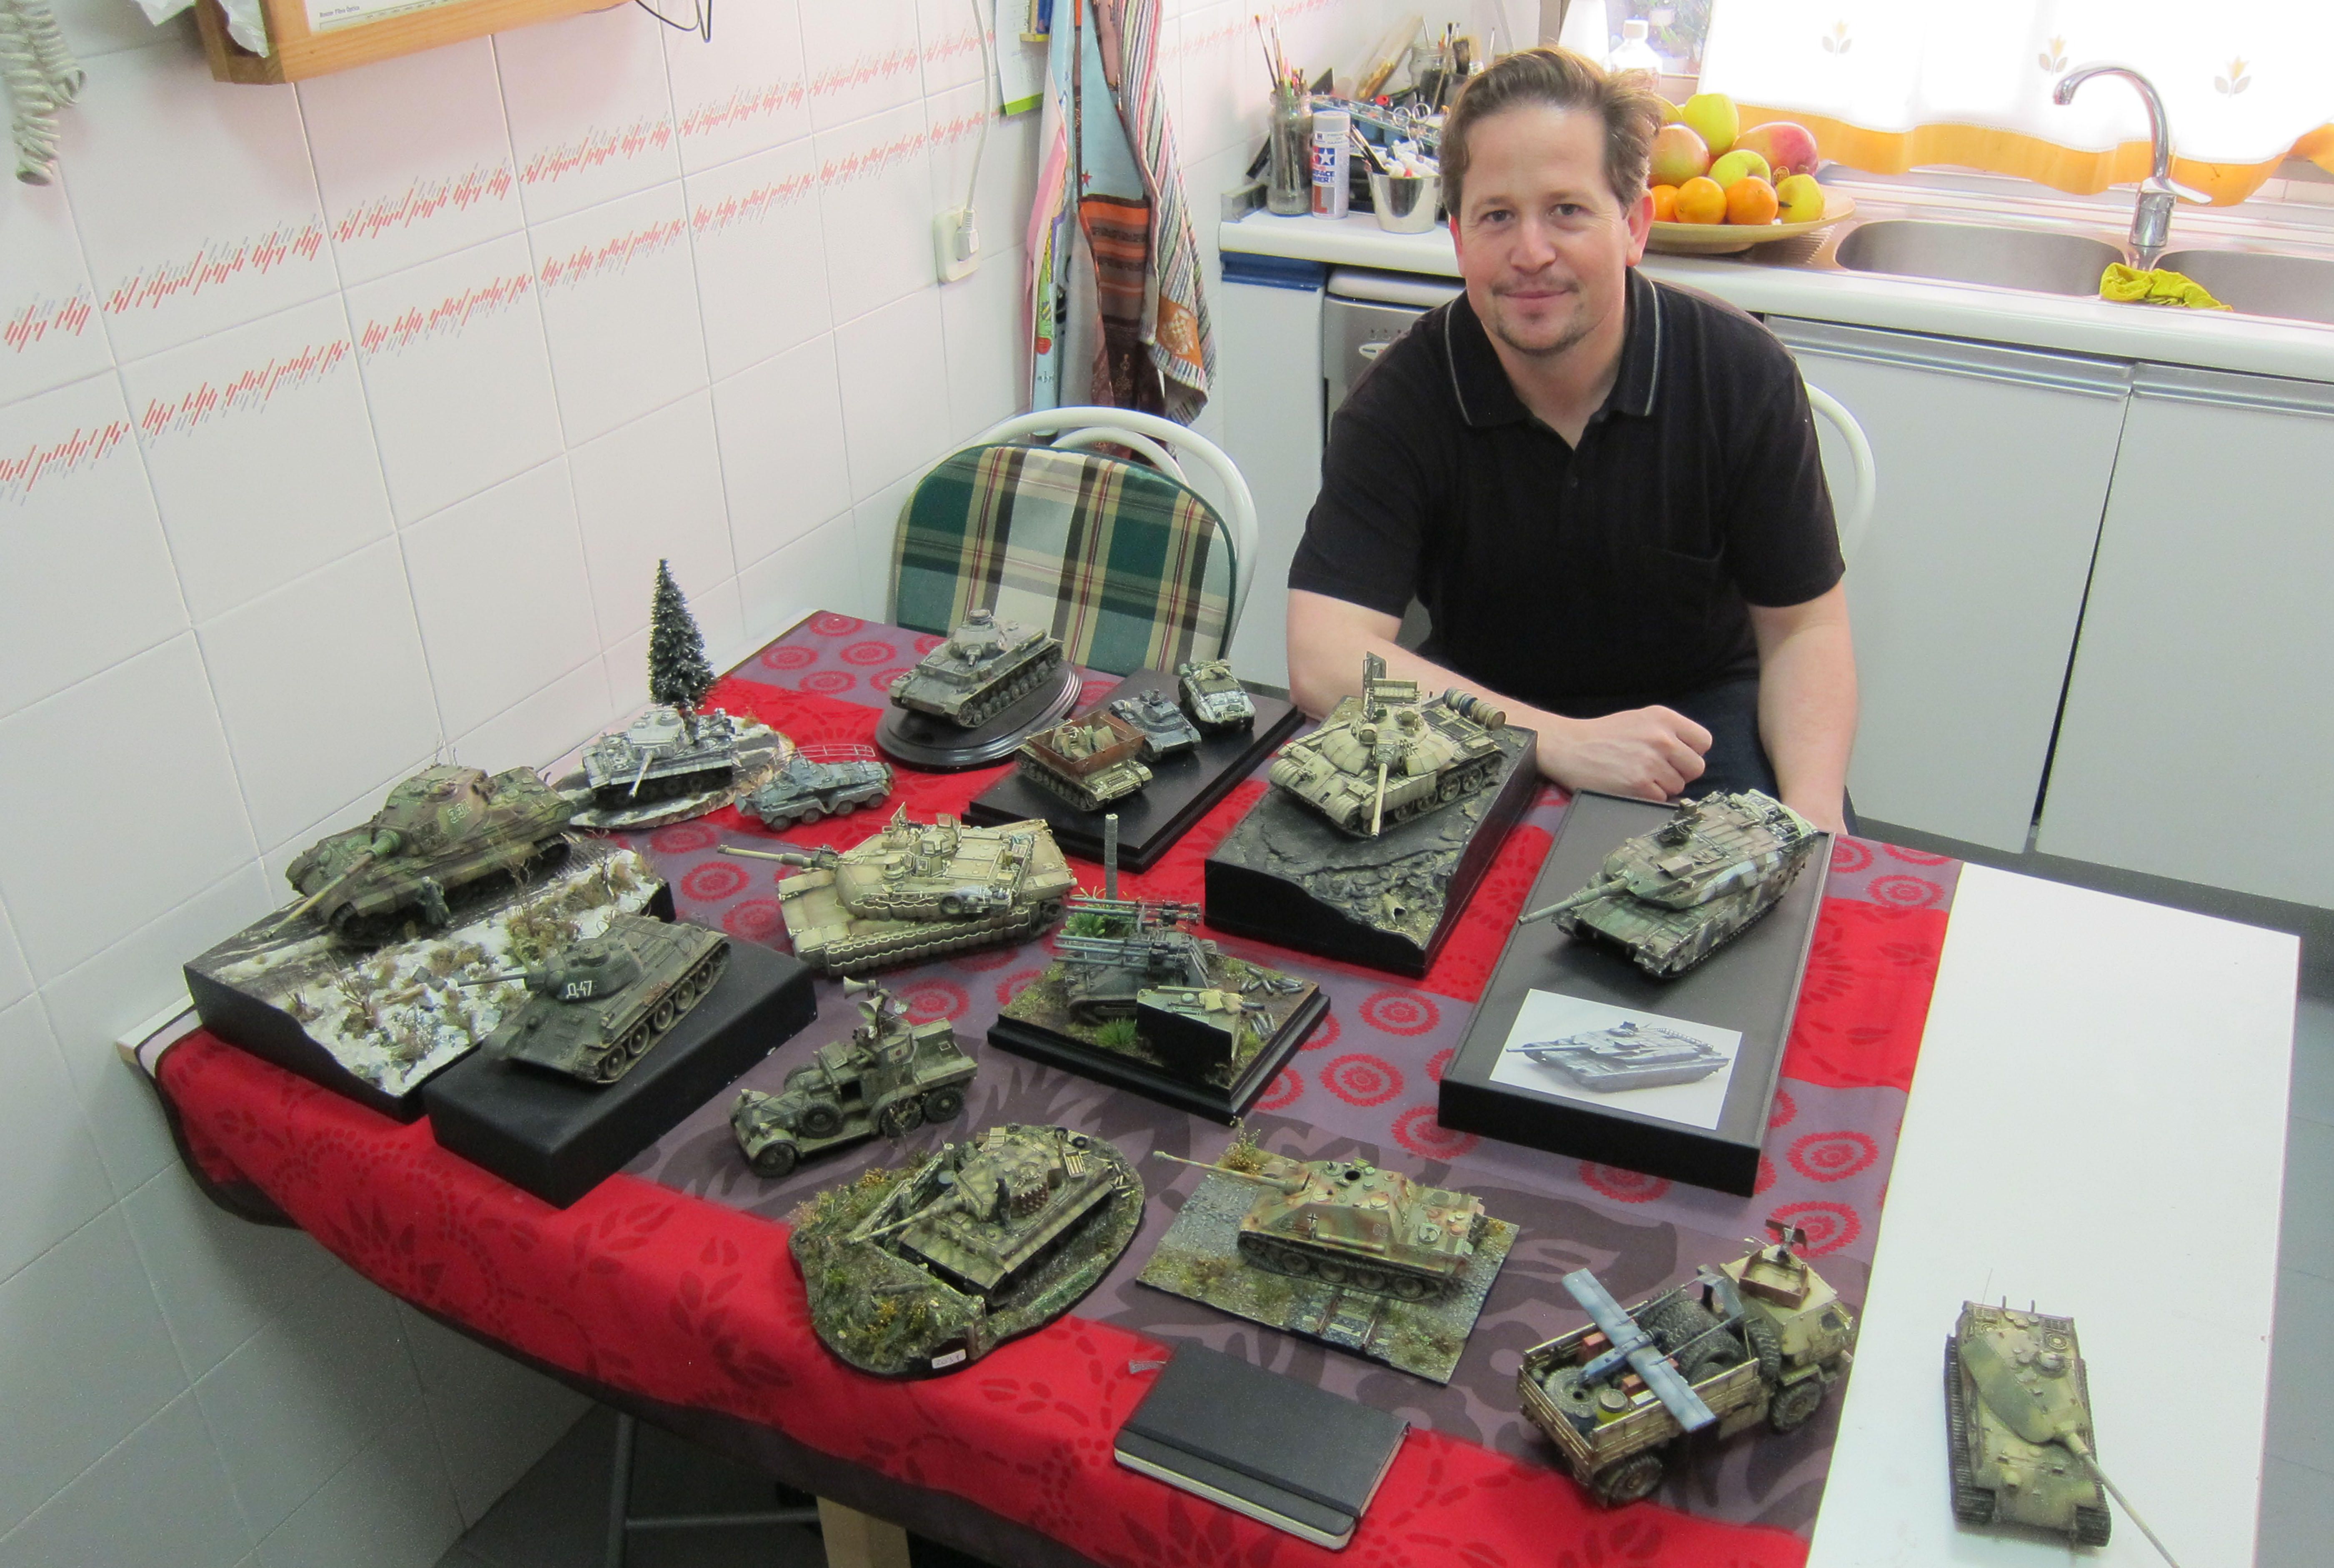
Jose Luis is a well-known Spanish modeler who is perhaps best known for his pioneering use of the black and white technique. His work can be seen regularly in Panzer Aces magazine, among others, and on sites like Missing Lynx. If you spend any time on the Missing Lynx forum you will recognize his T-55 Enigma:

Over a nice Spanish coffee and a cupcake, Jose suggested that (among other things – stay tuned for a more in-depth post about our chat) I take up 1:48 scale armor. He explained that painting in 1:48 scale will change the “scale” that you see things in, driving you to refine your technique and control, with the idea being that once you move back to 1:35 scale, you will continue to work in 1:48 scale in your mind, thus producing finer detail in your painting.
It seemed to make sense and I was eager to try it, but I think Jose thought I needed a little more nudging. He asked me what subjects I like to build, and as soon as I replied “Modern Soviet stuff” he disappeared into another room. After a minute or so he returned with a small white cardboard box, which he held out to me with a boyish smile on his face.
“Here – now you build in 48!”
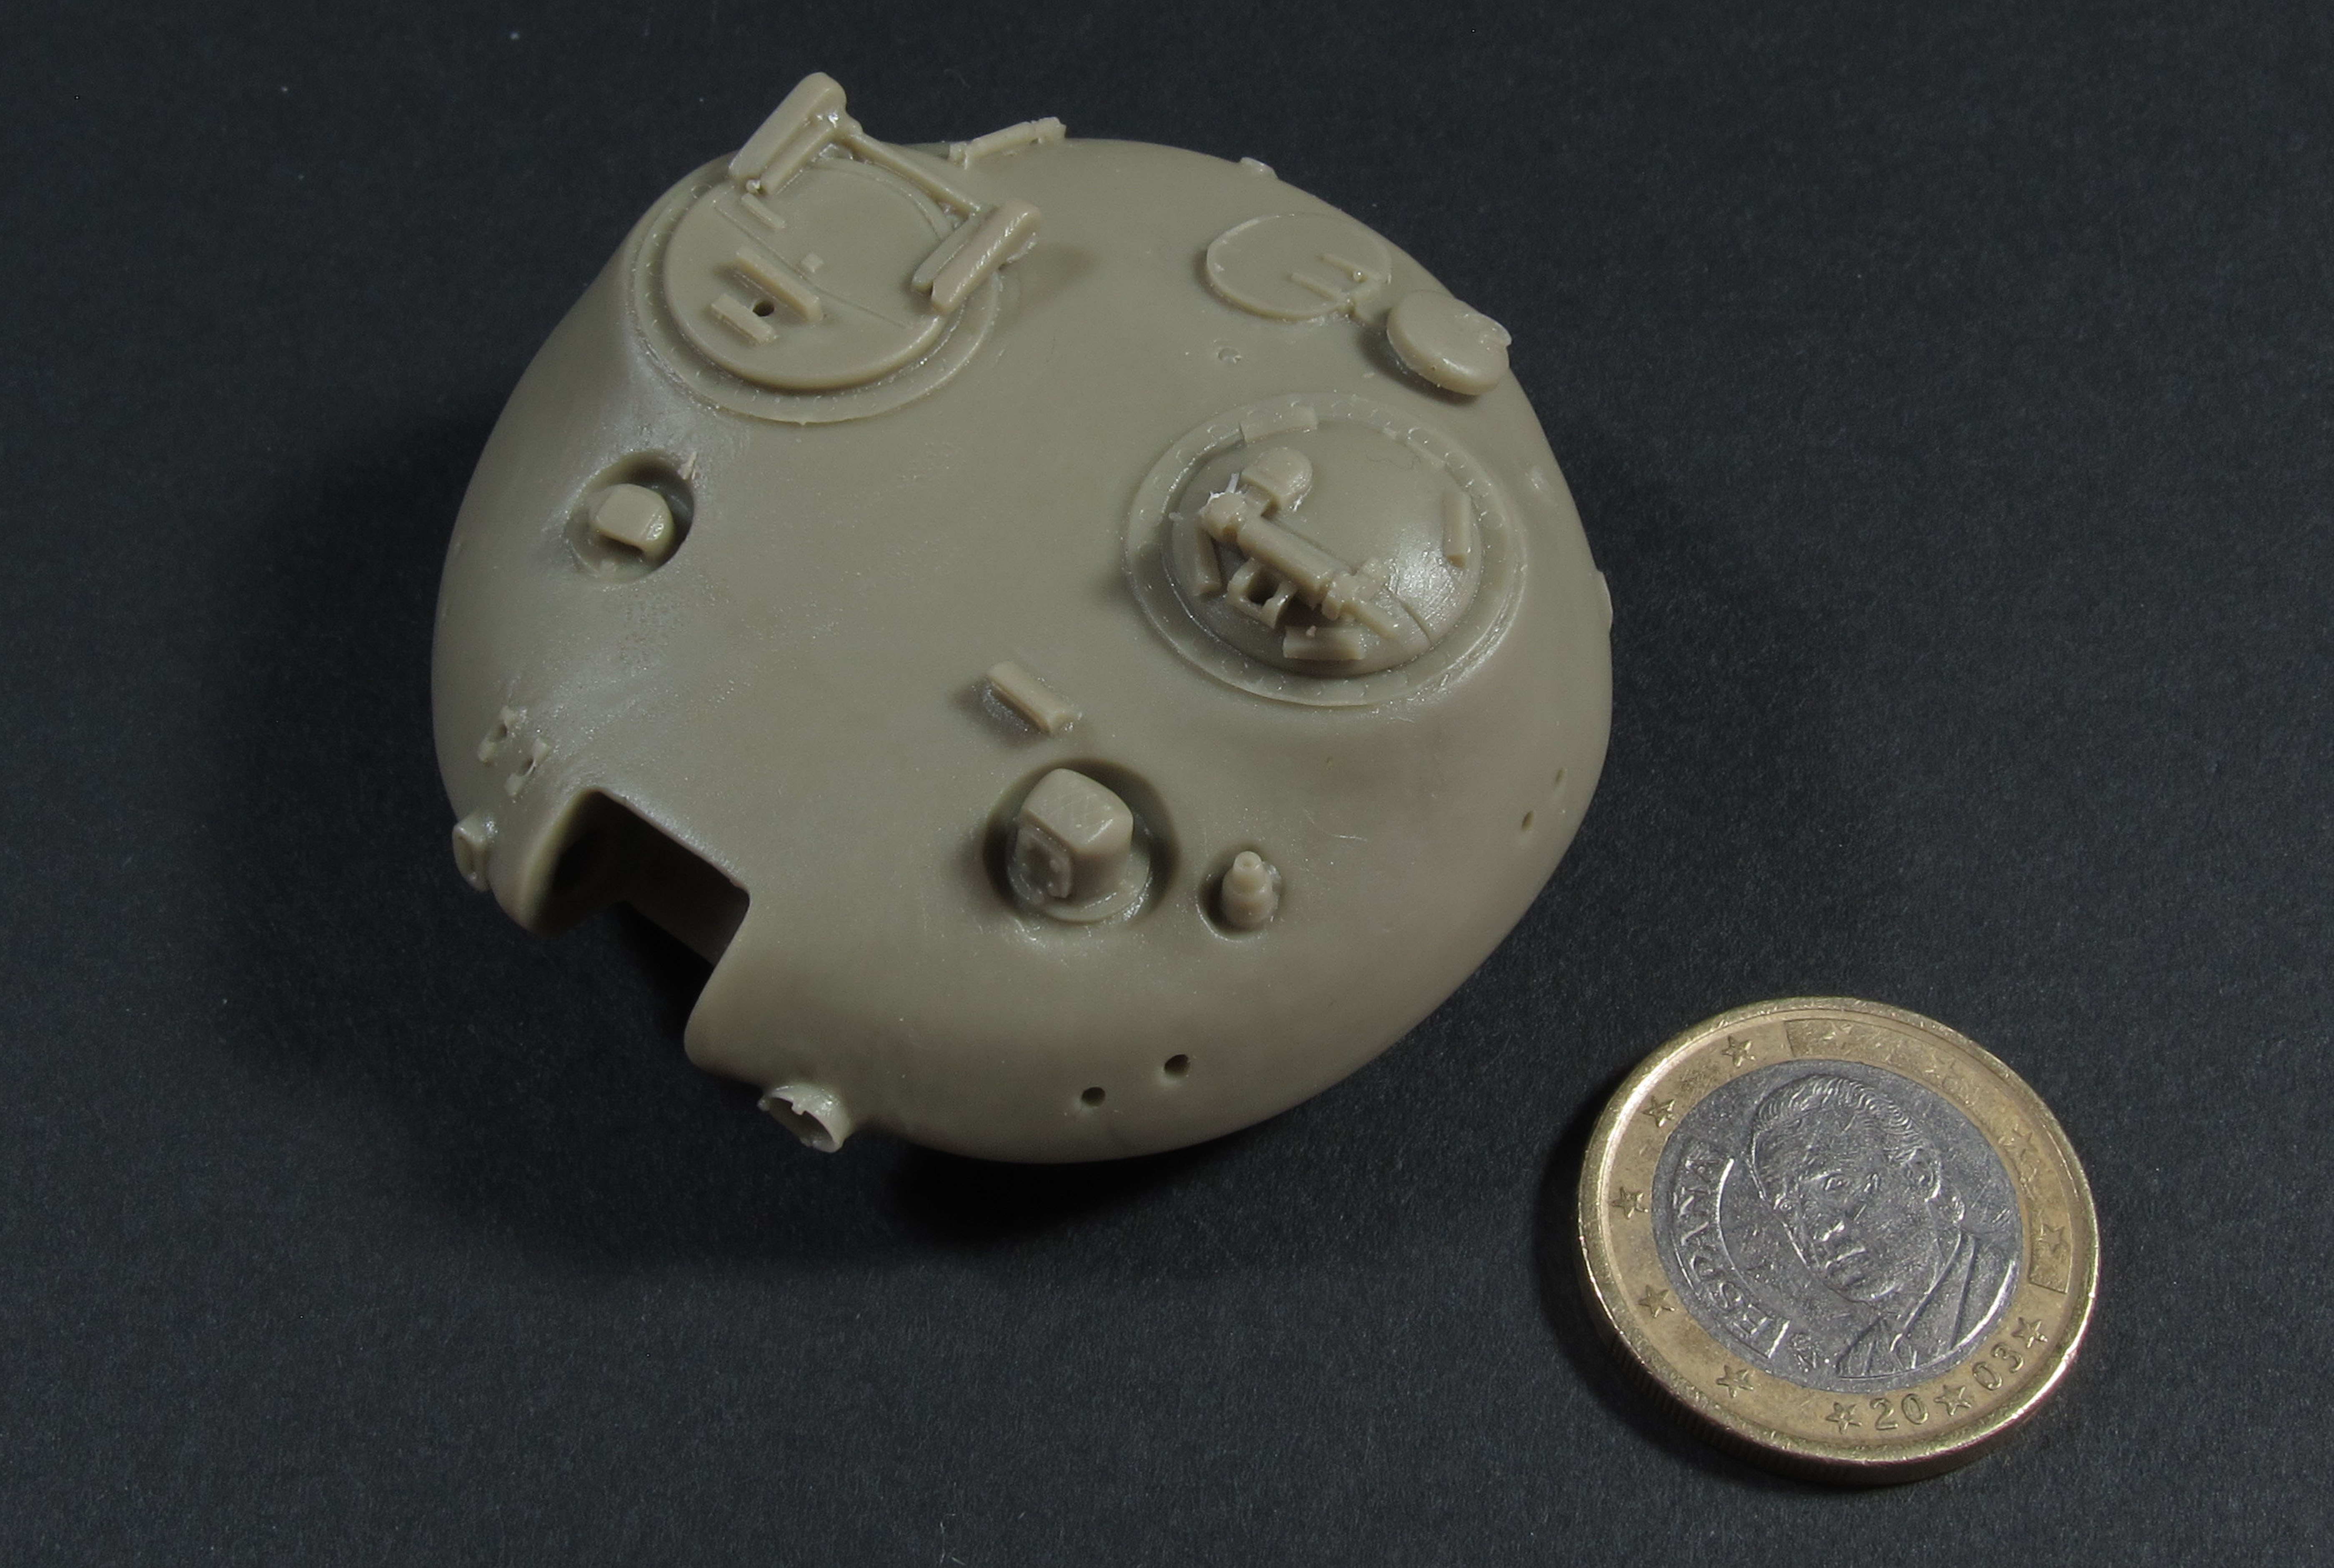
It was a T-62 by Gaso.Line Models!
Touched by his generosity, and with a genuine desire to see where this experiment would lead (I had become increasingly dissatisfied with the over-sized chipping and scratching on my SU-85 and thought that this seemed like a great way to refine my technique) I accepted his gift and committed to completing the project by May 20th – Jose’s birthday.
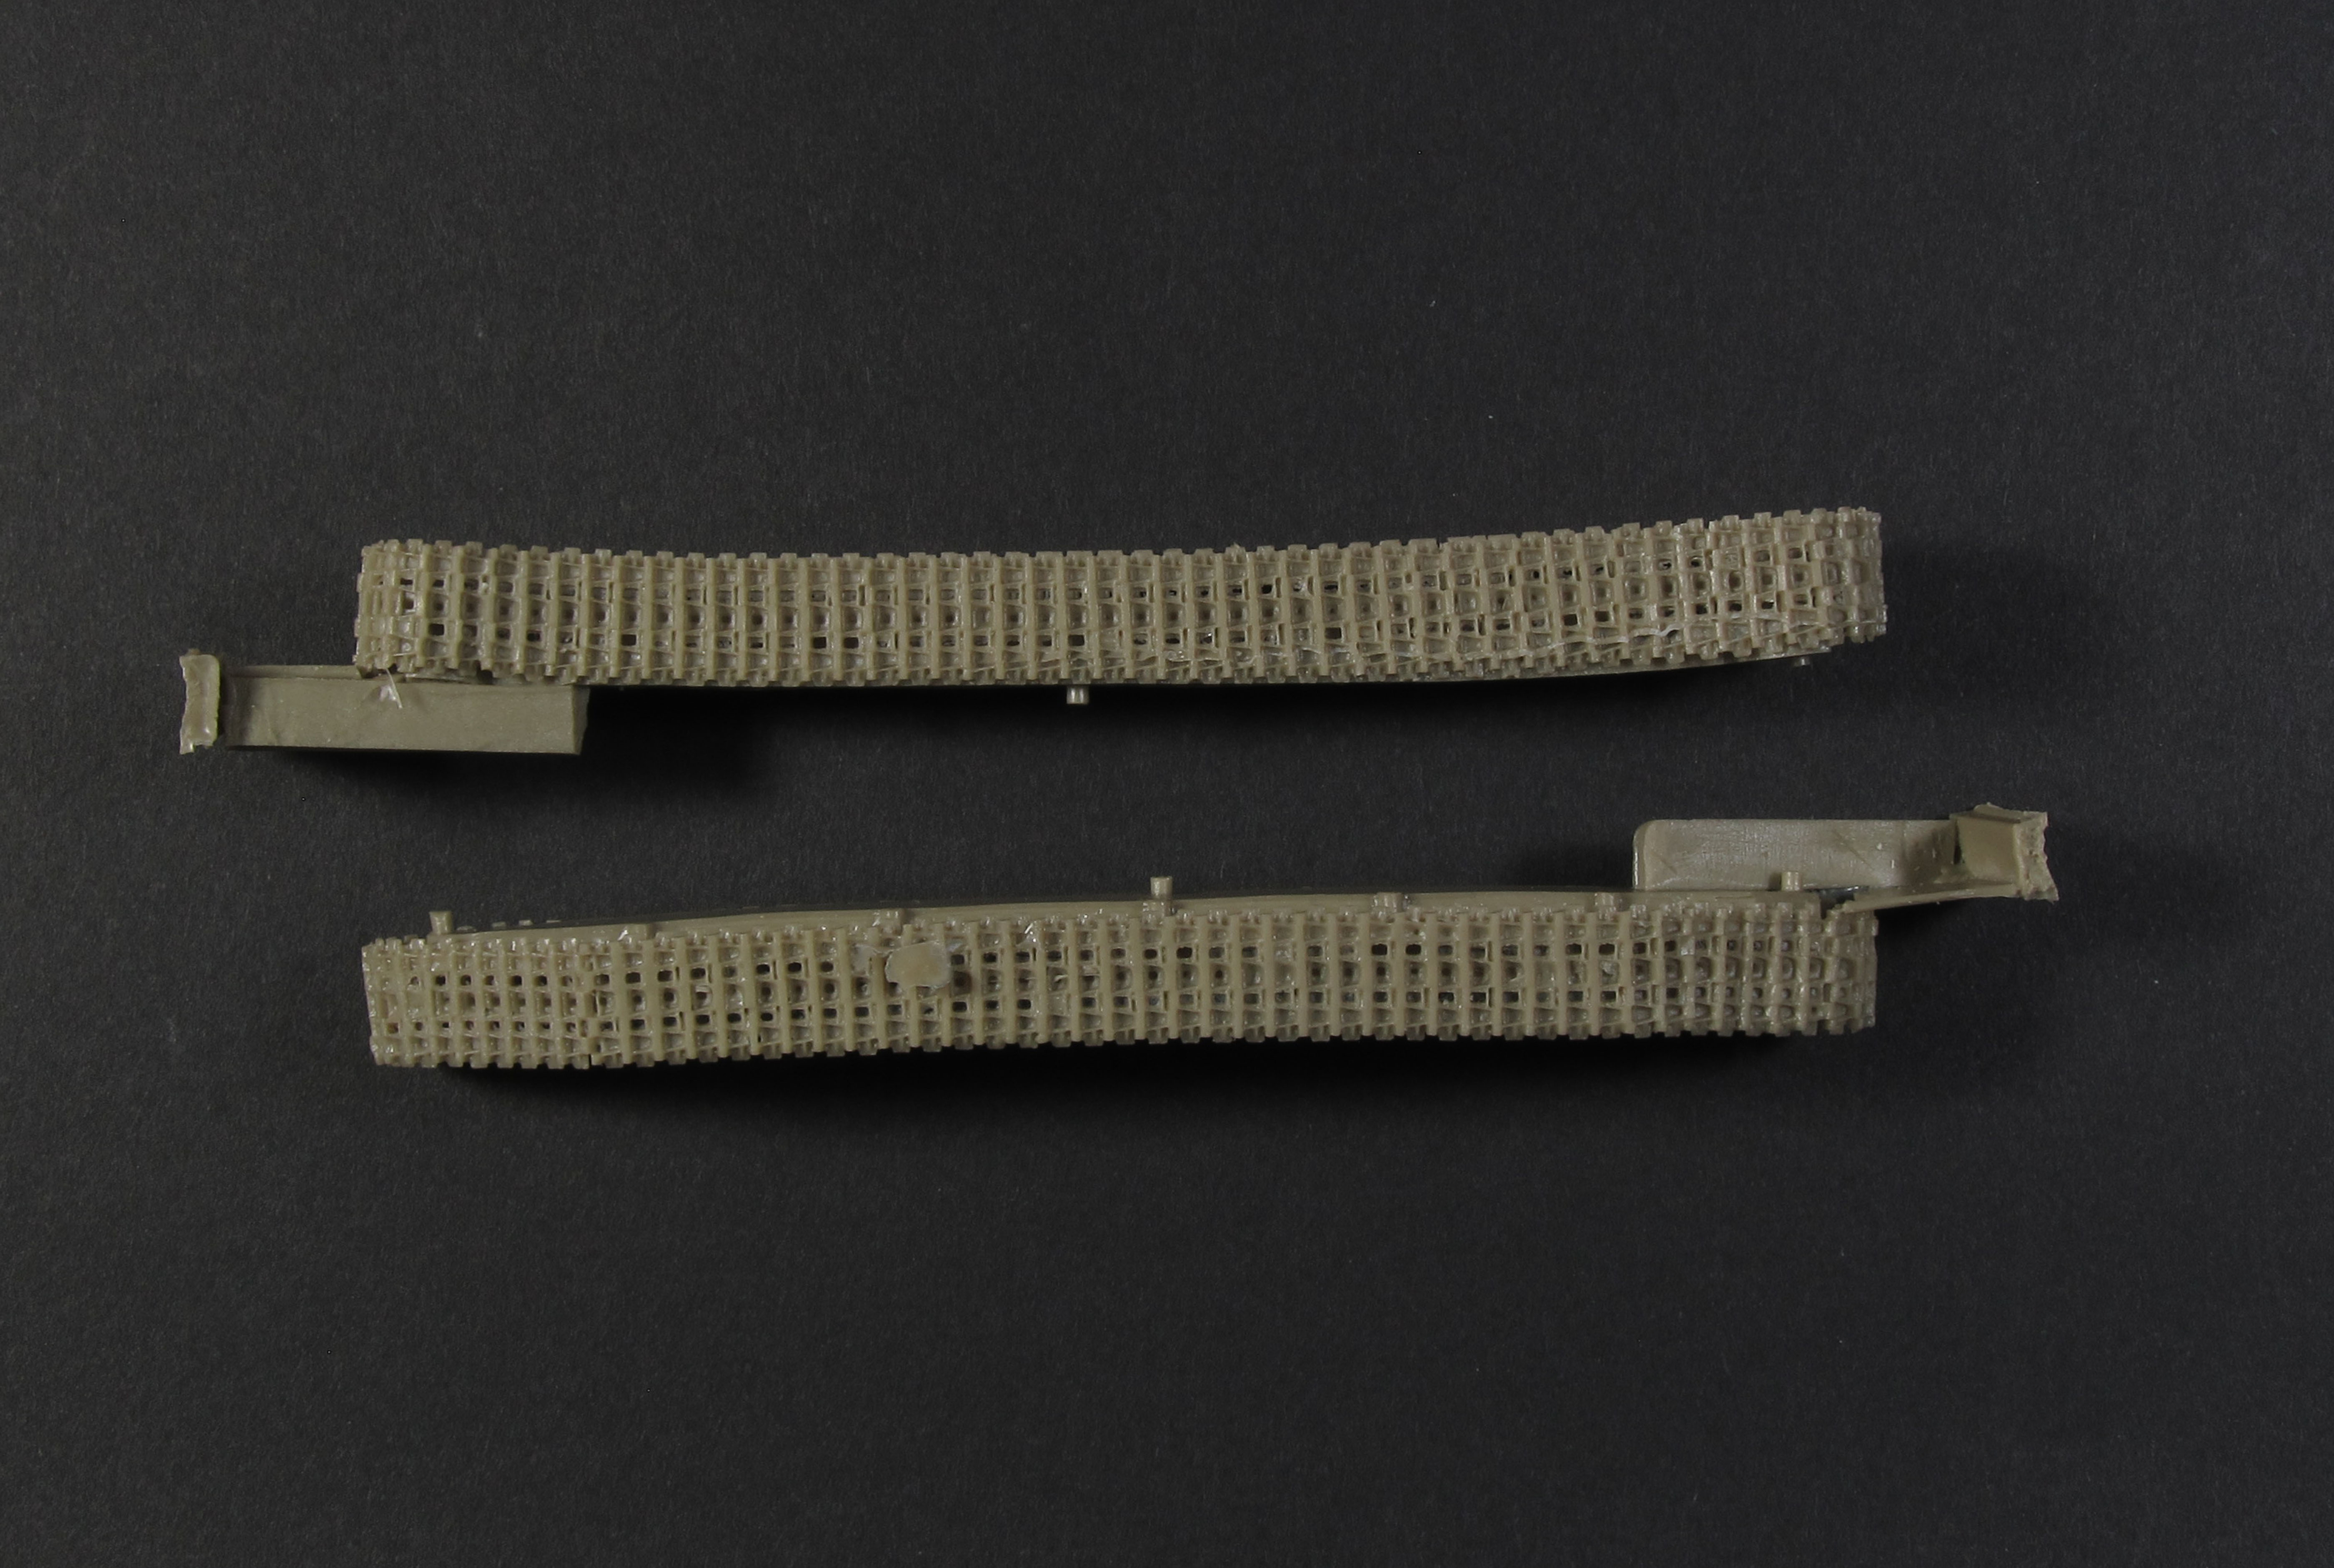
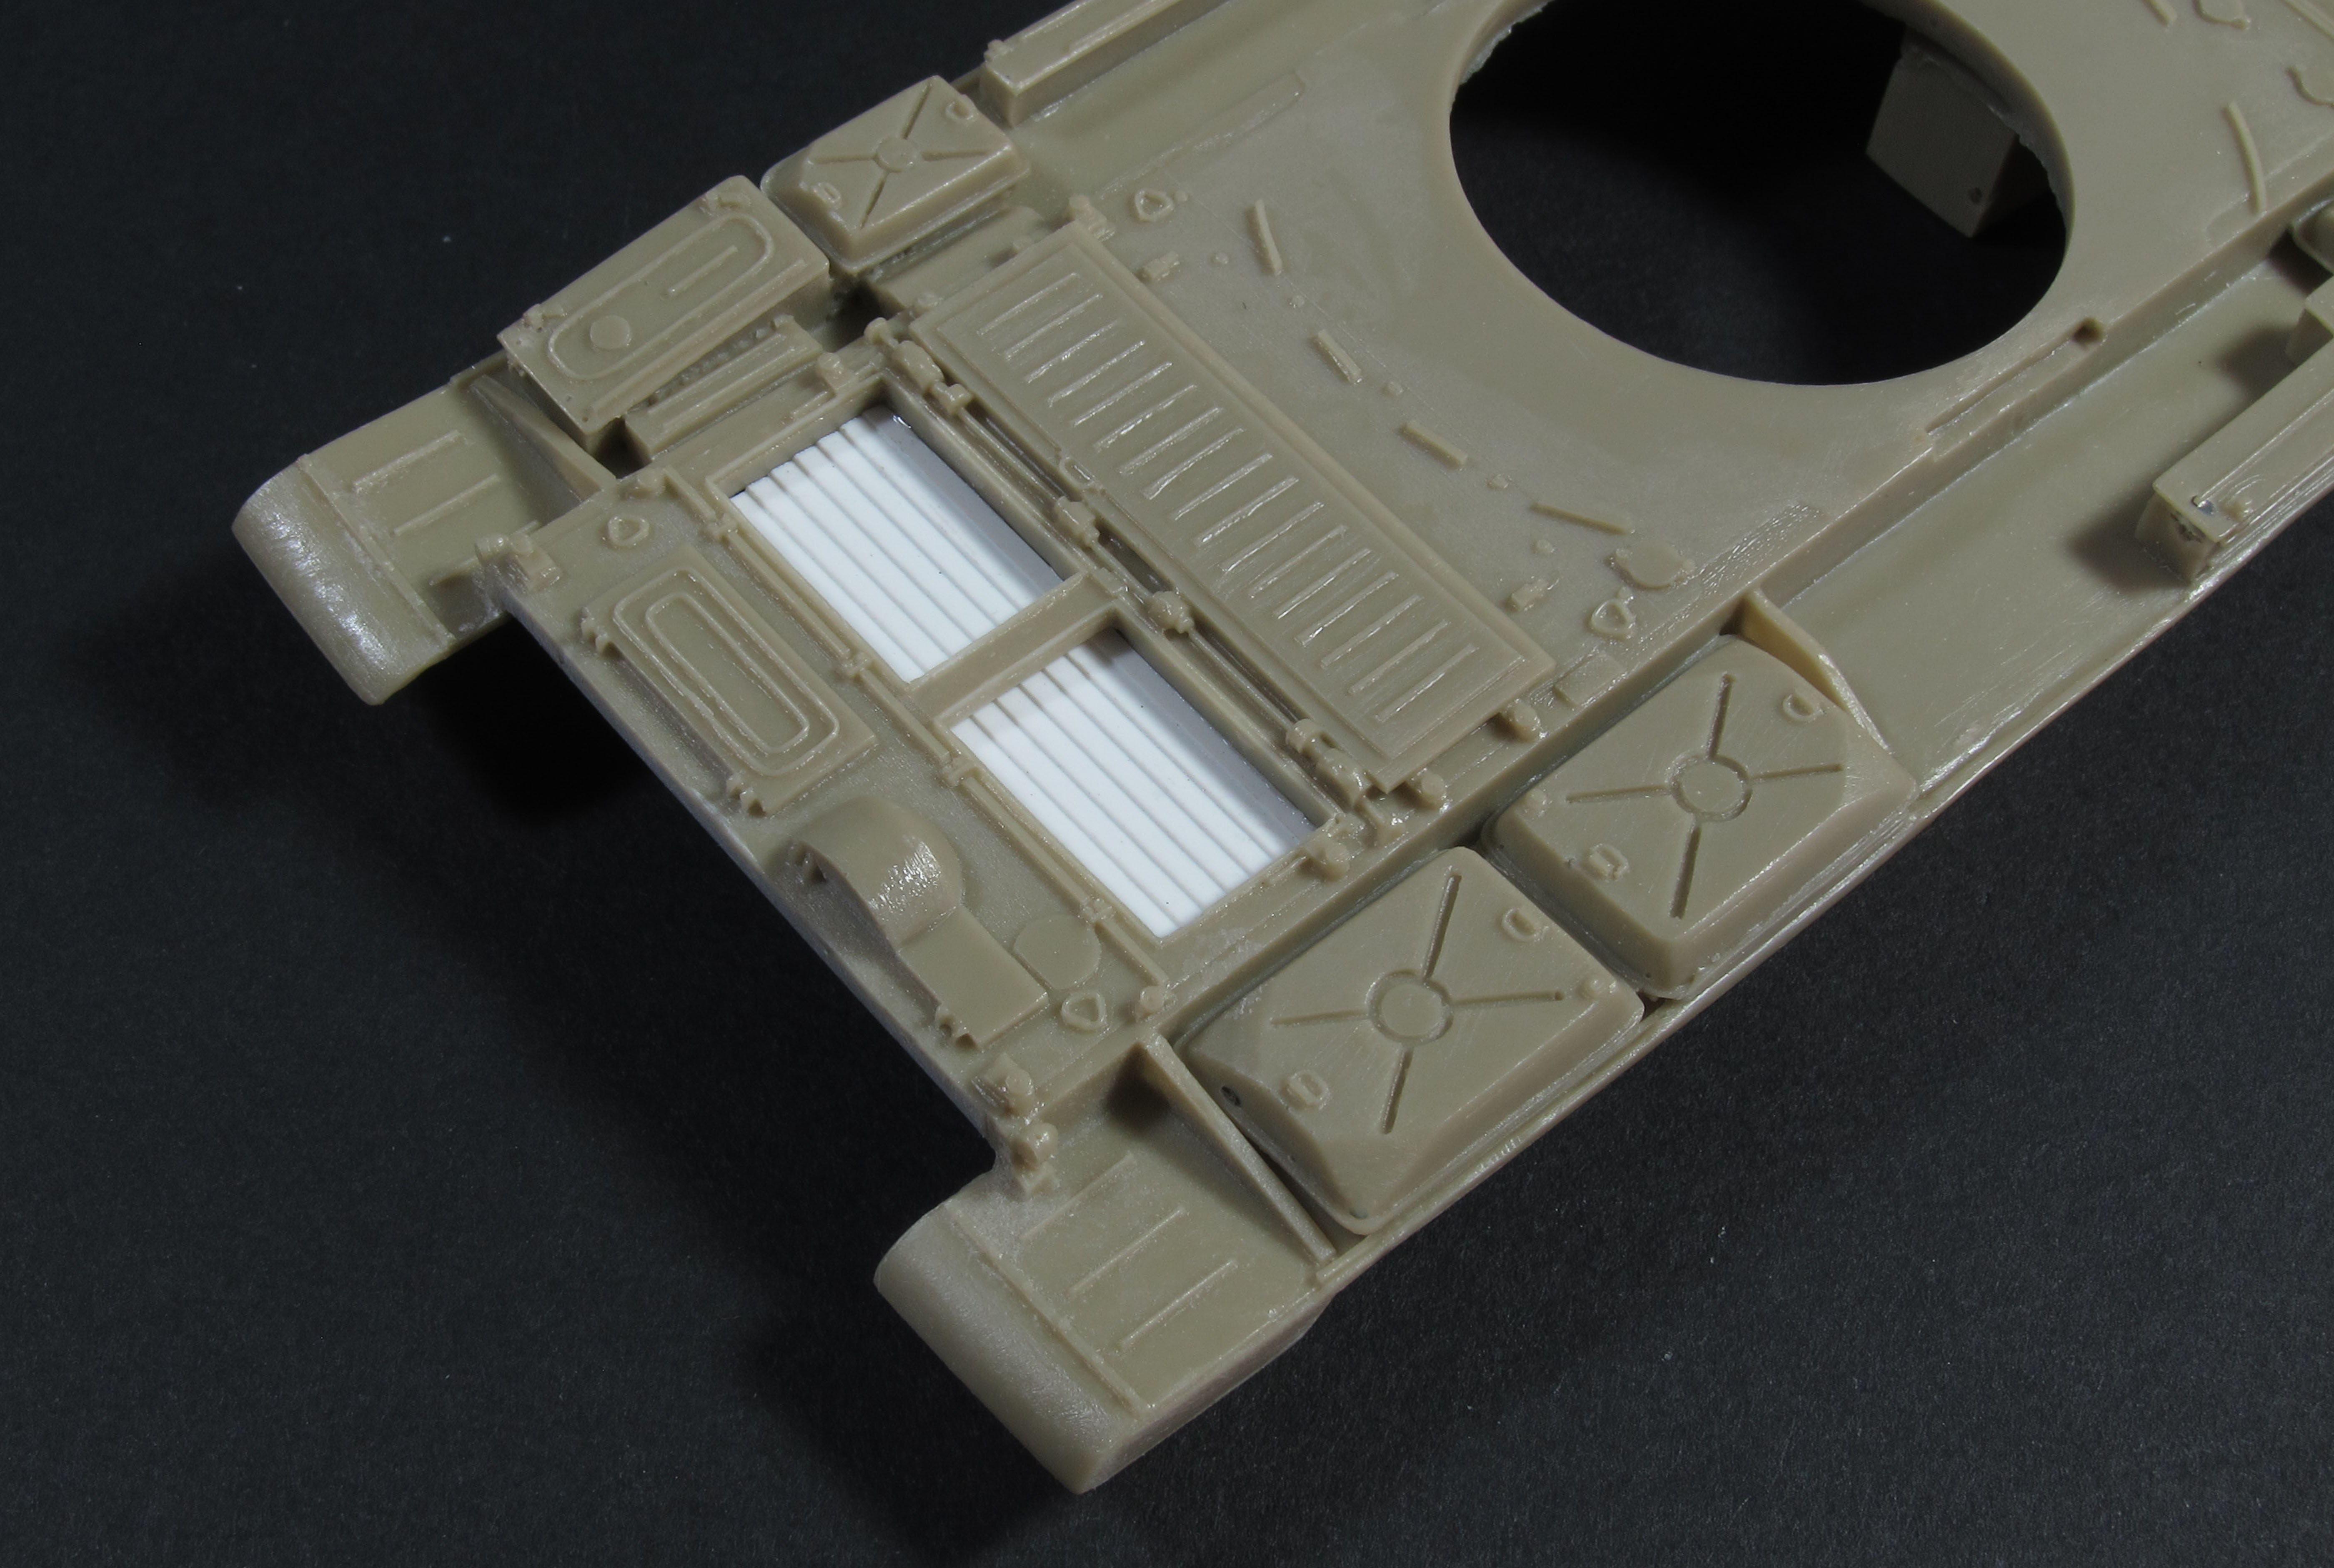
Gaso.Line’s 1:48 scale T-62 is molded in a pale green polyurethane resin. It comes with a turned aluminum barrel, a spring, and some brass wire for forming the headlight guards. Detail throughout is very nice, but a few areas of the upper hull showed signs that the mold was wearing a bit. The tracks were slightly warped, but nothing that hot water and clamping wouldn’t take care of.


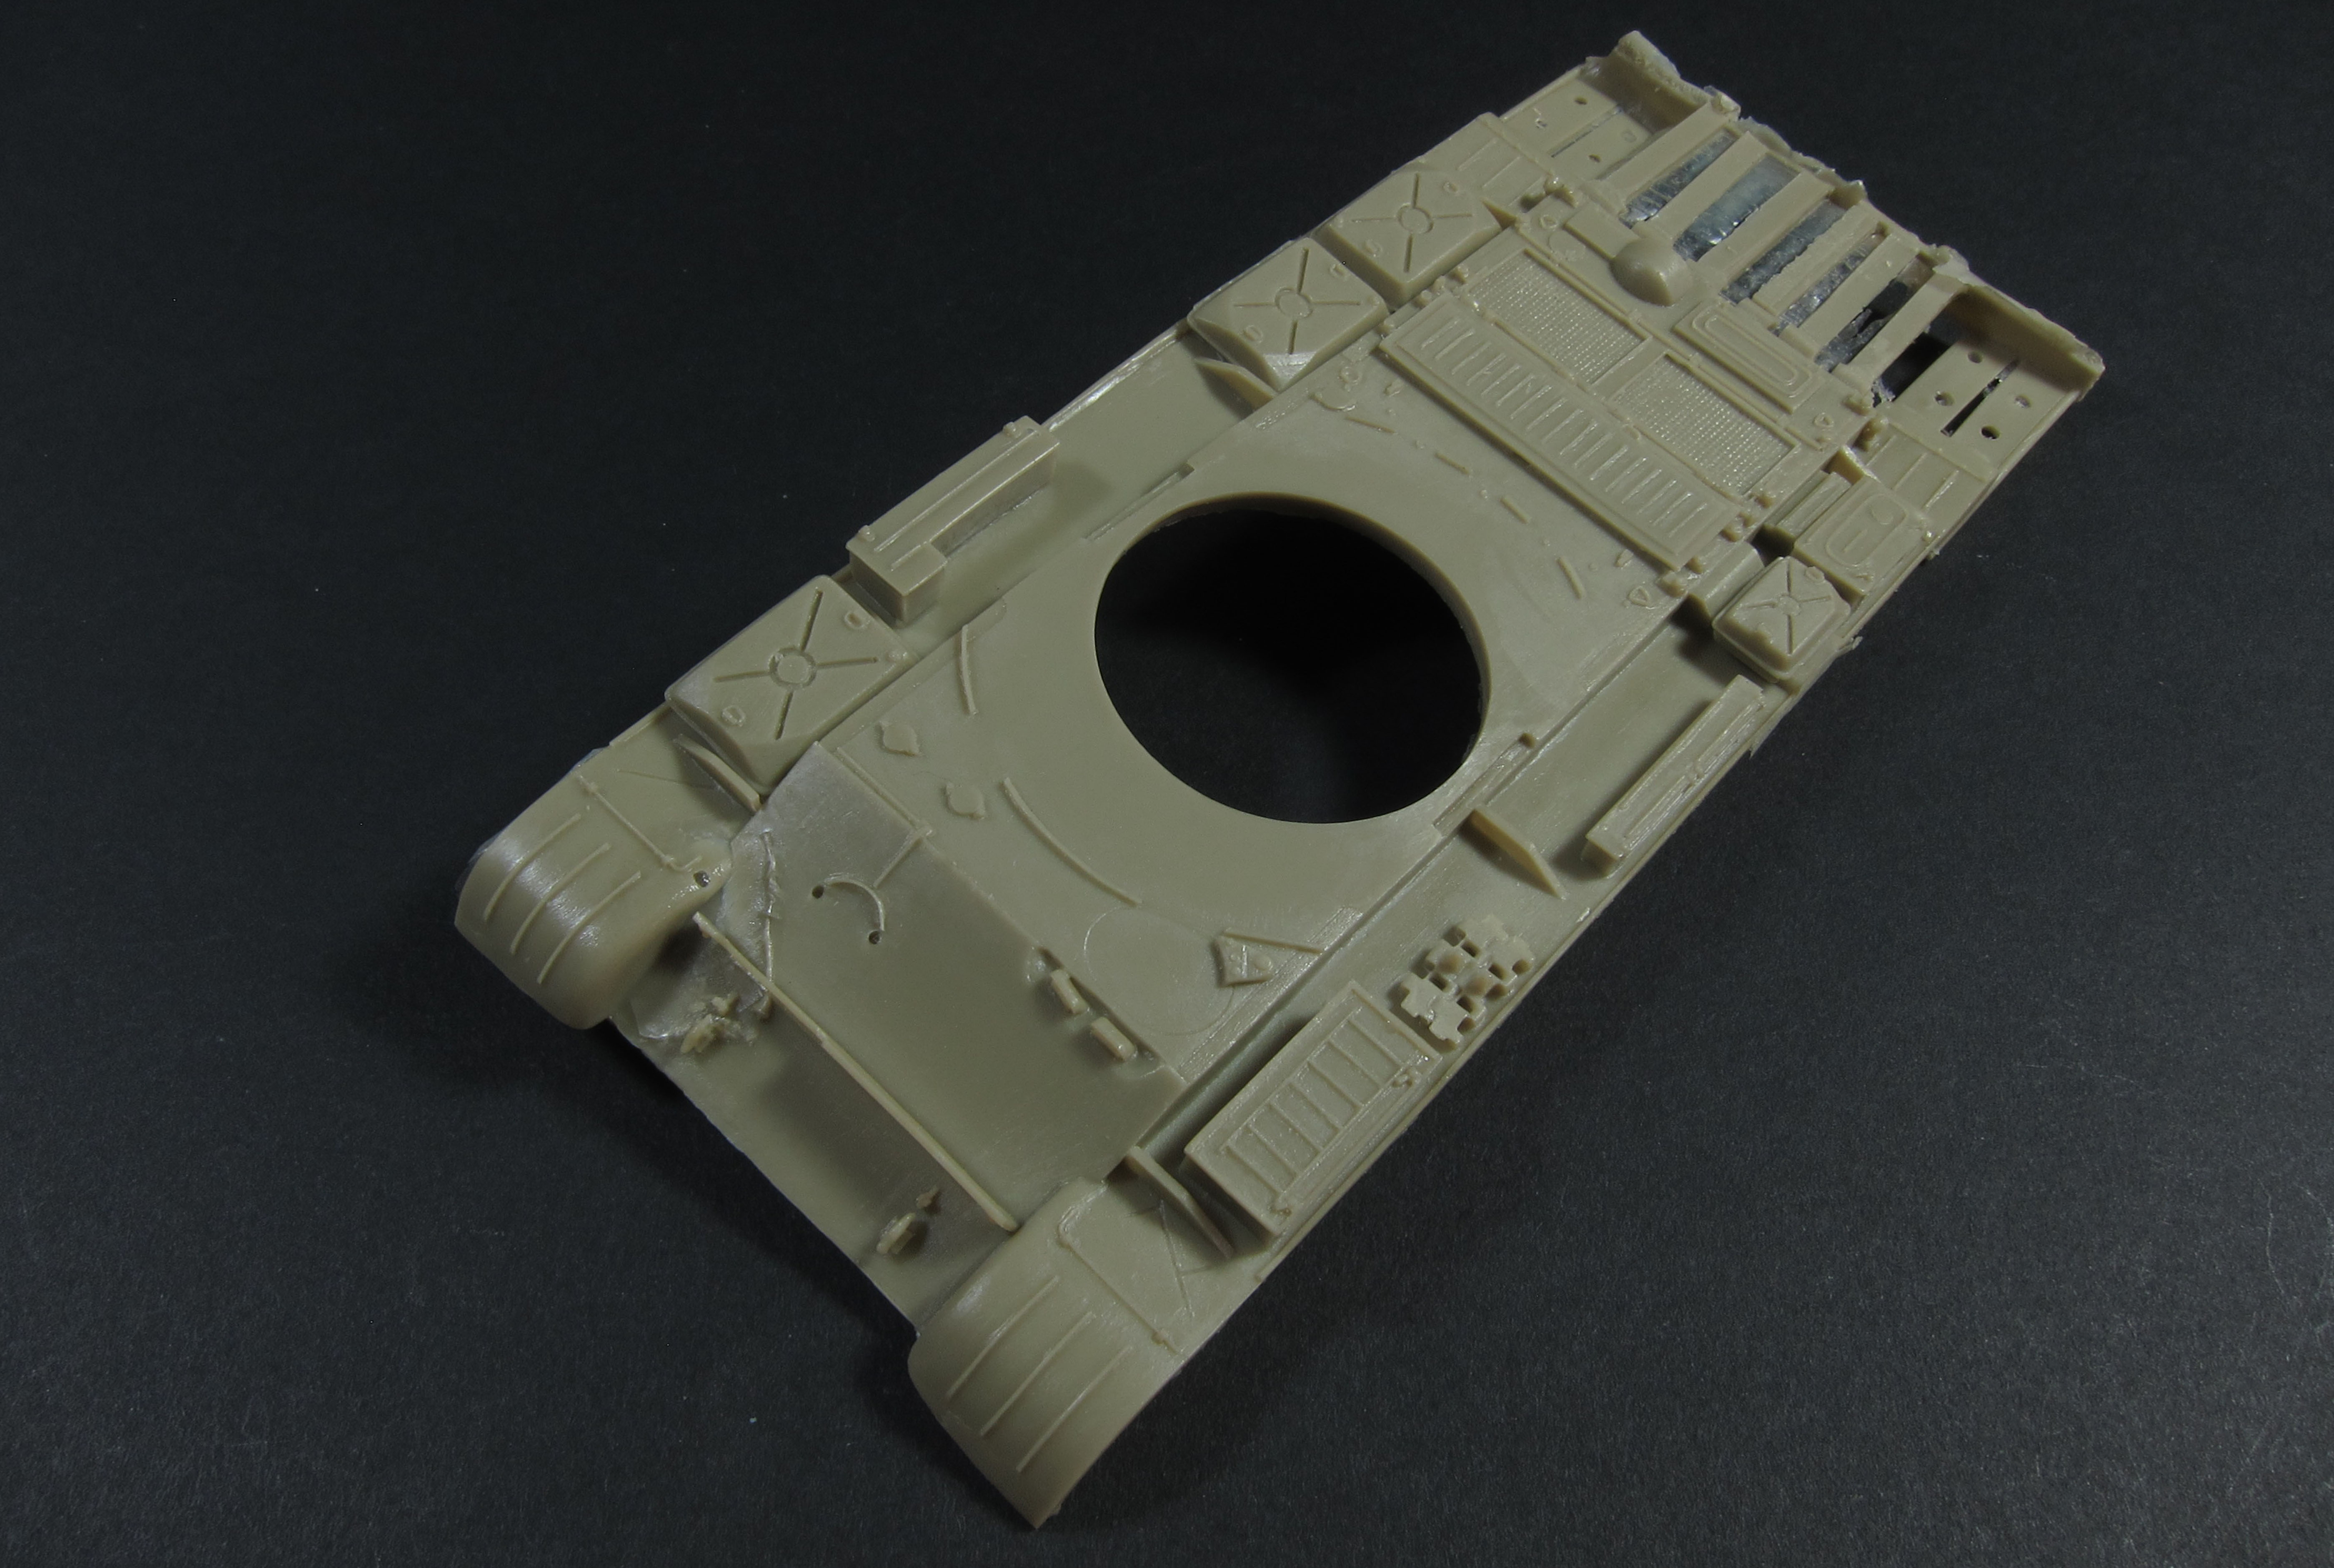


The details on the glacis plate were a little distorted due, I believe, to mold wear, so I decided to sand it smooth and add a sheet styrene plate to re-face the area and serve as a basis for the addition of my own replacement details.

This required cutting through the fenders where they attached to the hull so that I could slide the new glacis plate under them.
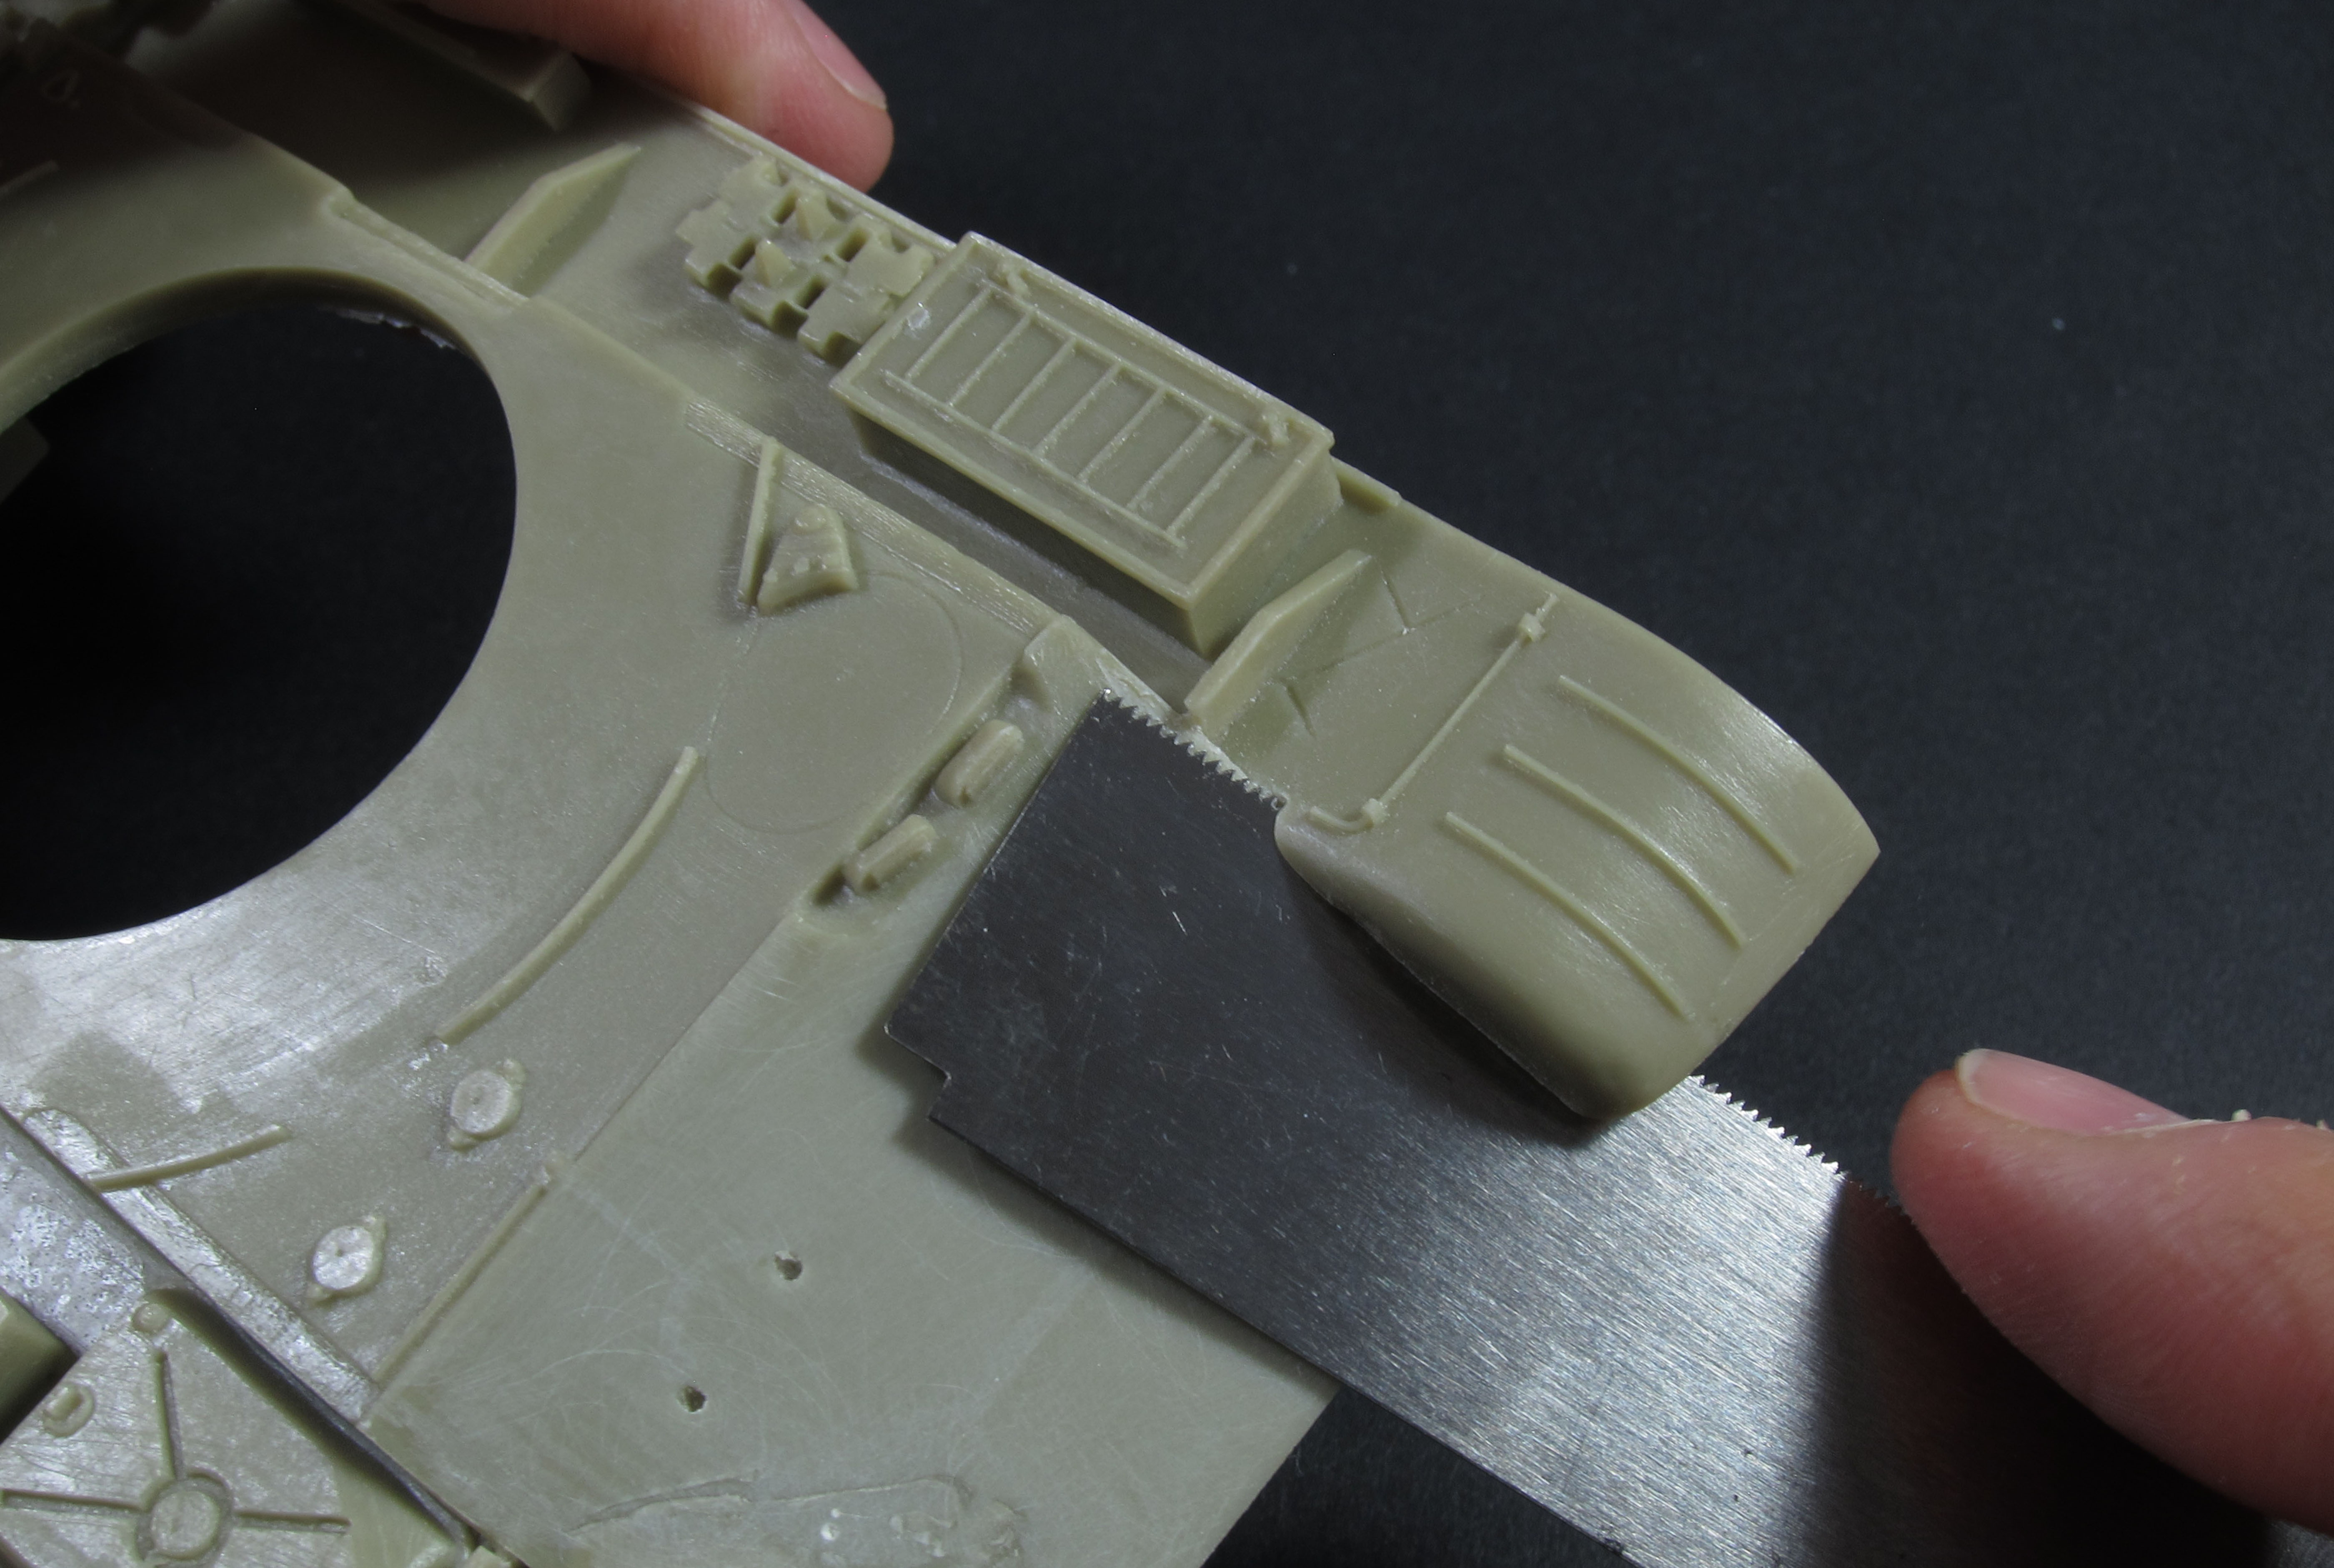
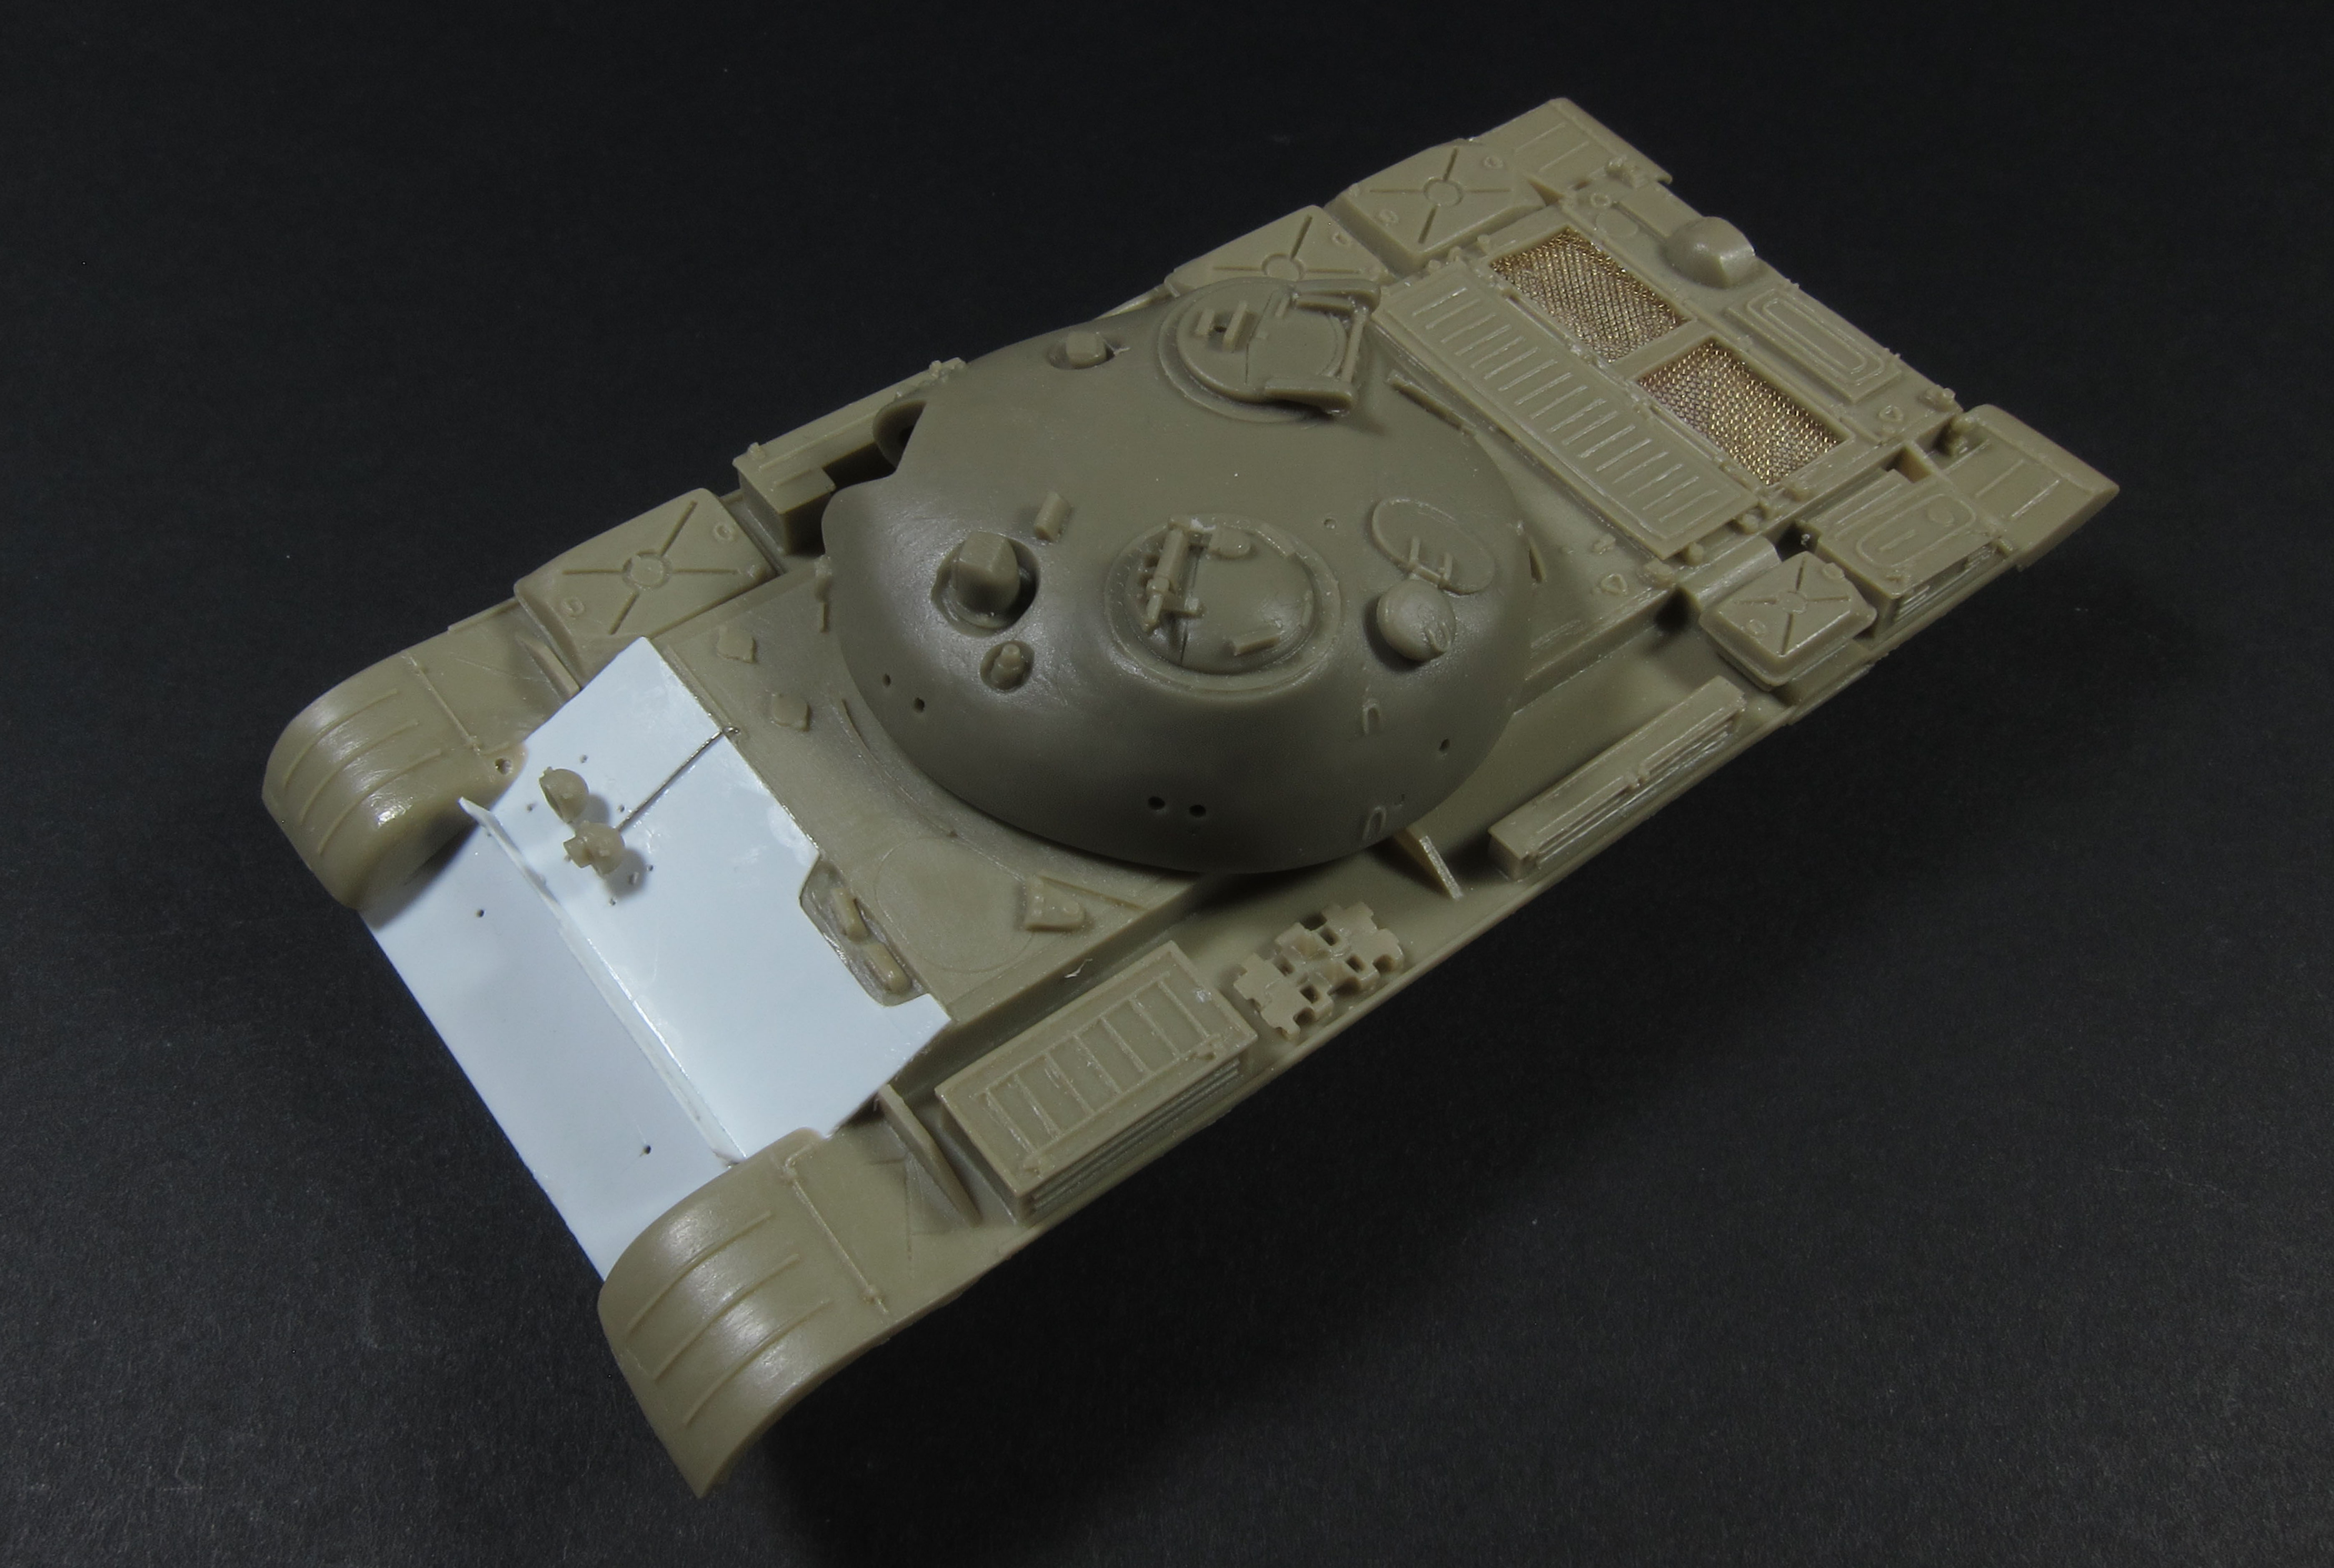
The headlight mounts were cut off, holes were drilled in the bottoms of the headlights, and corresponding holes were drilled in the new glacis plate. A new splash guard was cut from styrene and wood texture was added by scraping the face with a razor saw.

I also decided that the engine deck mesh screens were due for replacement. I used a motor tool to cut away the molded screens while holding the upper hull over the end of a vacuum cleaner hose to catch the resin dust. I then replaced them with small pieces of brass screen that I roughed up a bit to simulate a well-worn vehicle.

At that point the upper and lower hulls were joined.
Next up: hull details and suspension.
Stay tuned!
