
The more I get into this little kit the more I like it. It builds fast, has great detail, and offers a wide range of finishing possibilities.
It is a resin kit though, so a bit of a different build mindset will pay off in the long run. Take the tracks for example. Long, thin cast resin parts are prone to warping. They can often be straightened by soaking them in hot water (or “heat soaking” with a hair drier), bending against the warp and holding while they cool. I tried the hot water method, but the tracks had enough mass and structure that they resisted my attempts to straighten them this way. I thought about clamping them to the hull and using cyanoacrylate to hold them in place, but the thought of permanently bonding them on before paint, as well as the need to use complicated spacer blocking to prevent clamping on the fragile track link ends gave me reason to keep looking for a solution.
In the end, the kit designer provided the inspiration for the solution I chose. In the image below, you can see the warpage of the tracks.

You can also see the two countersunk holes in the bottom of the hull. Those holes allow the modeller to screw the hull top and bottom together. I didn’t use them, but instead decided to permanently bond the hull together due to seam work on the glacis. I thought it was a neat design feature though, and wondered if I could use the same idea to attach the tracks, using screws to clamp the tracks flat against the hull, while also allowing me to keep them removable for finishing. Two birds, one SABOT round etc!
I looked through my tool stash for my miniature tap and die sets and found an old 2-56 tap and die set from Kadee (railroad modelers will recognize the brand) and some 2-56 machine screws.

I drilled and tapped the hull for the 2-56 screws, then cleaned the holes with a 2-56 screw.

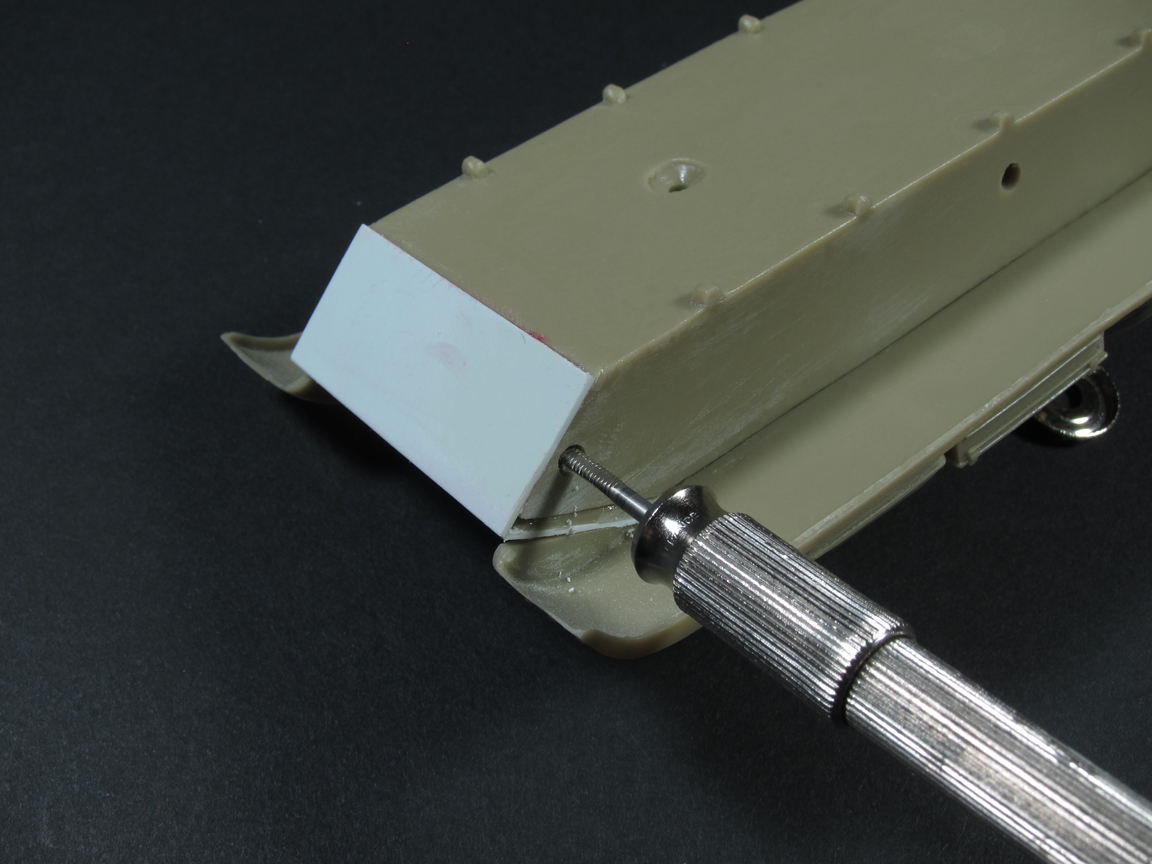

Then I used the 2-56 clearance drill to drill the holes on the kit tracks.

Here you can see the secured track on the right and the out-of-the-box track on the left.

Here she sits.

I think it will still require a bit of tuning with heat and pressure to get the ground contacting track links to rest properly, but I am happy with the result.

I’m really enjoying this build and I want to thank my friend Jose Luis Lopez Ruiz again for the gift.
Next up – the turret!
Thanks for looking.
