Spanish Civil War Panzer 1 / Panzer 1 de la Guerra Civil Española

TriStar Panzer I

With work on the base wrapping up it’s time to turn my attention to the focal point. This is TriStar’s Panzer 1-early. It’s a gem of a kit! Dragon has since released a Panzer 1 series, which is why I was able to pick this kit up for less than $20. It comes with the parts needed to make a”Negrillo” of the Nationalist forces. I plan to use the kit decals, but will paint the St. Andrews cross on the turret.
IMG_0286

Part of my thinking on the color choices on the base was to have the warm front corner be a high contrast against the dark and ever-so-slightly blue-gray of the tank to really make the tank “pop”. I’m thinking yellow may have been a bad choice for the wall at the back end, but we’ll see.

Anyway, back to the model. It was built straight from the box with no modifications. I will use an aftermarket resin barrel for the MG13 that I picked up at Maquetas M113 in Aluche Madrid. If you’re ever in Madrid and you want to check out the model shops, it’s a must-see. Jordi is very knowledgeable and speaks English well. I also picked up a figure that I plan to use on this small vignette, but that’s a post for another day.

IMG_0295

My goal is to have this done for the show in Leganes / Madrid in March. Wish me luck!

model34-2013
https://www.facebook.com/events/419370951452163/

Small street scene base – part 2

After letting the base dry for a few days it was ready for paint. I sealed the cork and created a uniform surface, ready for paint, with a layer of Mr. Color gray thinned with Mr. Thinner for a tough base and let it dry overnight.

Primered and ready for paint. Good relief, but could use more.

Primered and ready for paint. Good relief, but could use more.

Then it was time to start applying color. I decided to try to apply color modulation to help build a sense of foreground / background and to work with the manhole cover and wall to help achieve depth. I started by applying a gradient with the near left corner being almost pure white and fading through gray to almost black at the back right. I felt that this diagonal gradient would help add some interest to the overall composition.

Adding a warm to cool gradient.

Adding a warm to cool gradient.

Than I picked out different details and areas of differing tonal values where I wanted to call attention to surface and material changes (the curb and crown pavers).

Using value and hard breaksto add visual texture.

Using value and hard breaksto add visual texture.

Then various washes were used to accentuate the gaps between the pavers. After that I used white oil paints to pick out highlights. I kept the washes at the left front corner warm and transitioned to cooler washes toward the far corner.

Using layers of washes and highlights with oil paints, chromatic richness is built up. Things got a little muddy.

Using layers of washes and highlights with oil paints, chromatic richness is built up. Things got a little muddy.


IMG_0266
IMG_0270
IMG_0277
IMG_0278

The bricks in the wall were picked out with a rust colored wash.
IMG_0274

IMG_0280

Next installment – details.

Small street scene diorama base

Or “How I spent my New Years Day”

FIrst off, a huge thanks to Carlos Elias Llop for introducing me to the use of cork as a construction material.

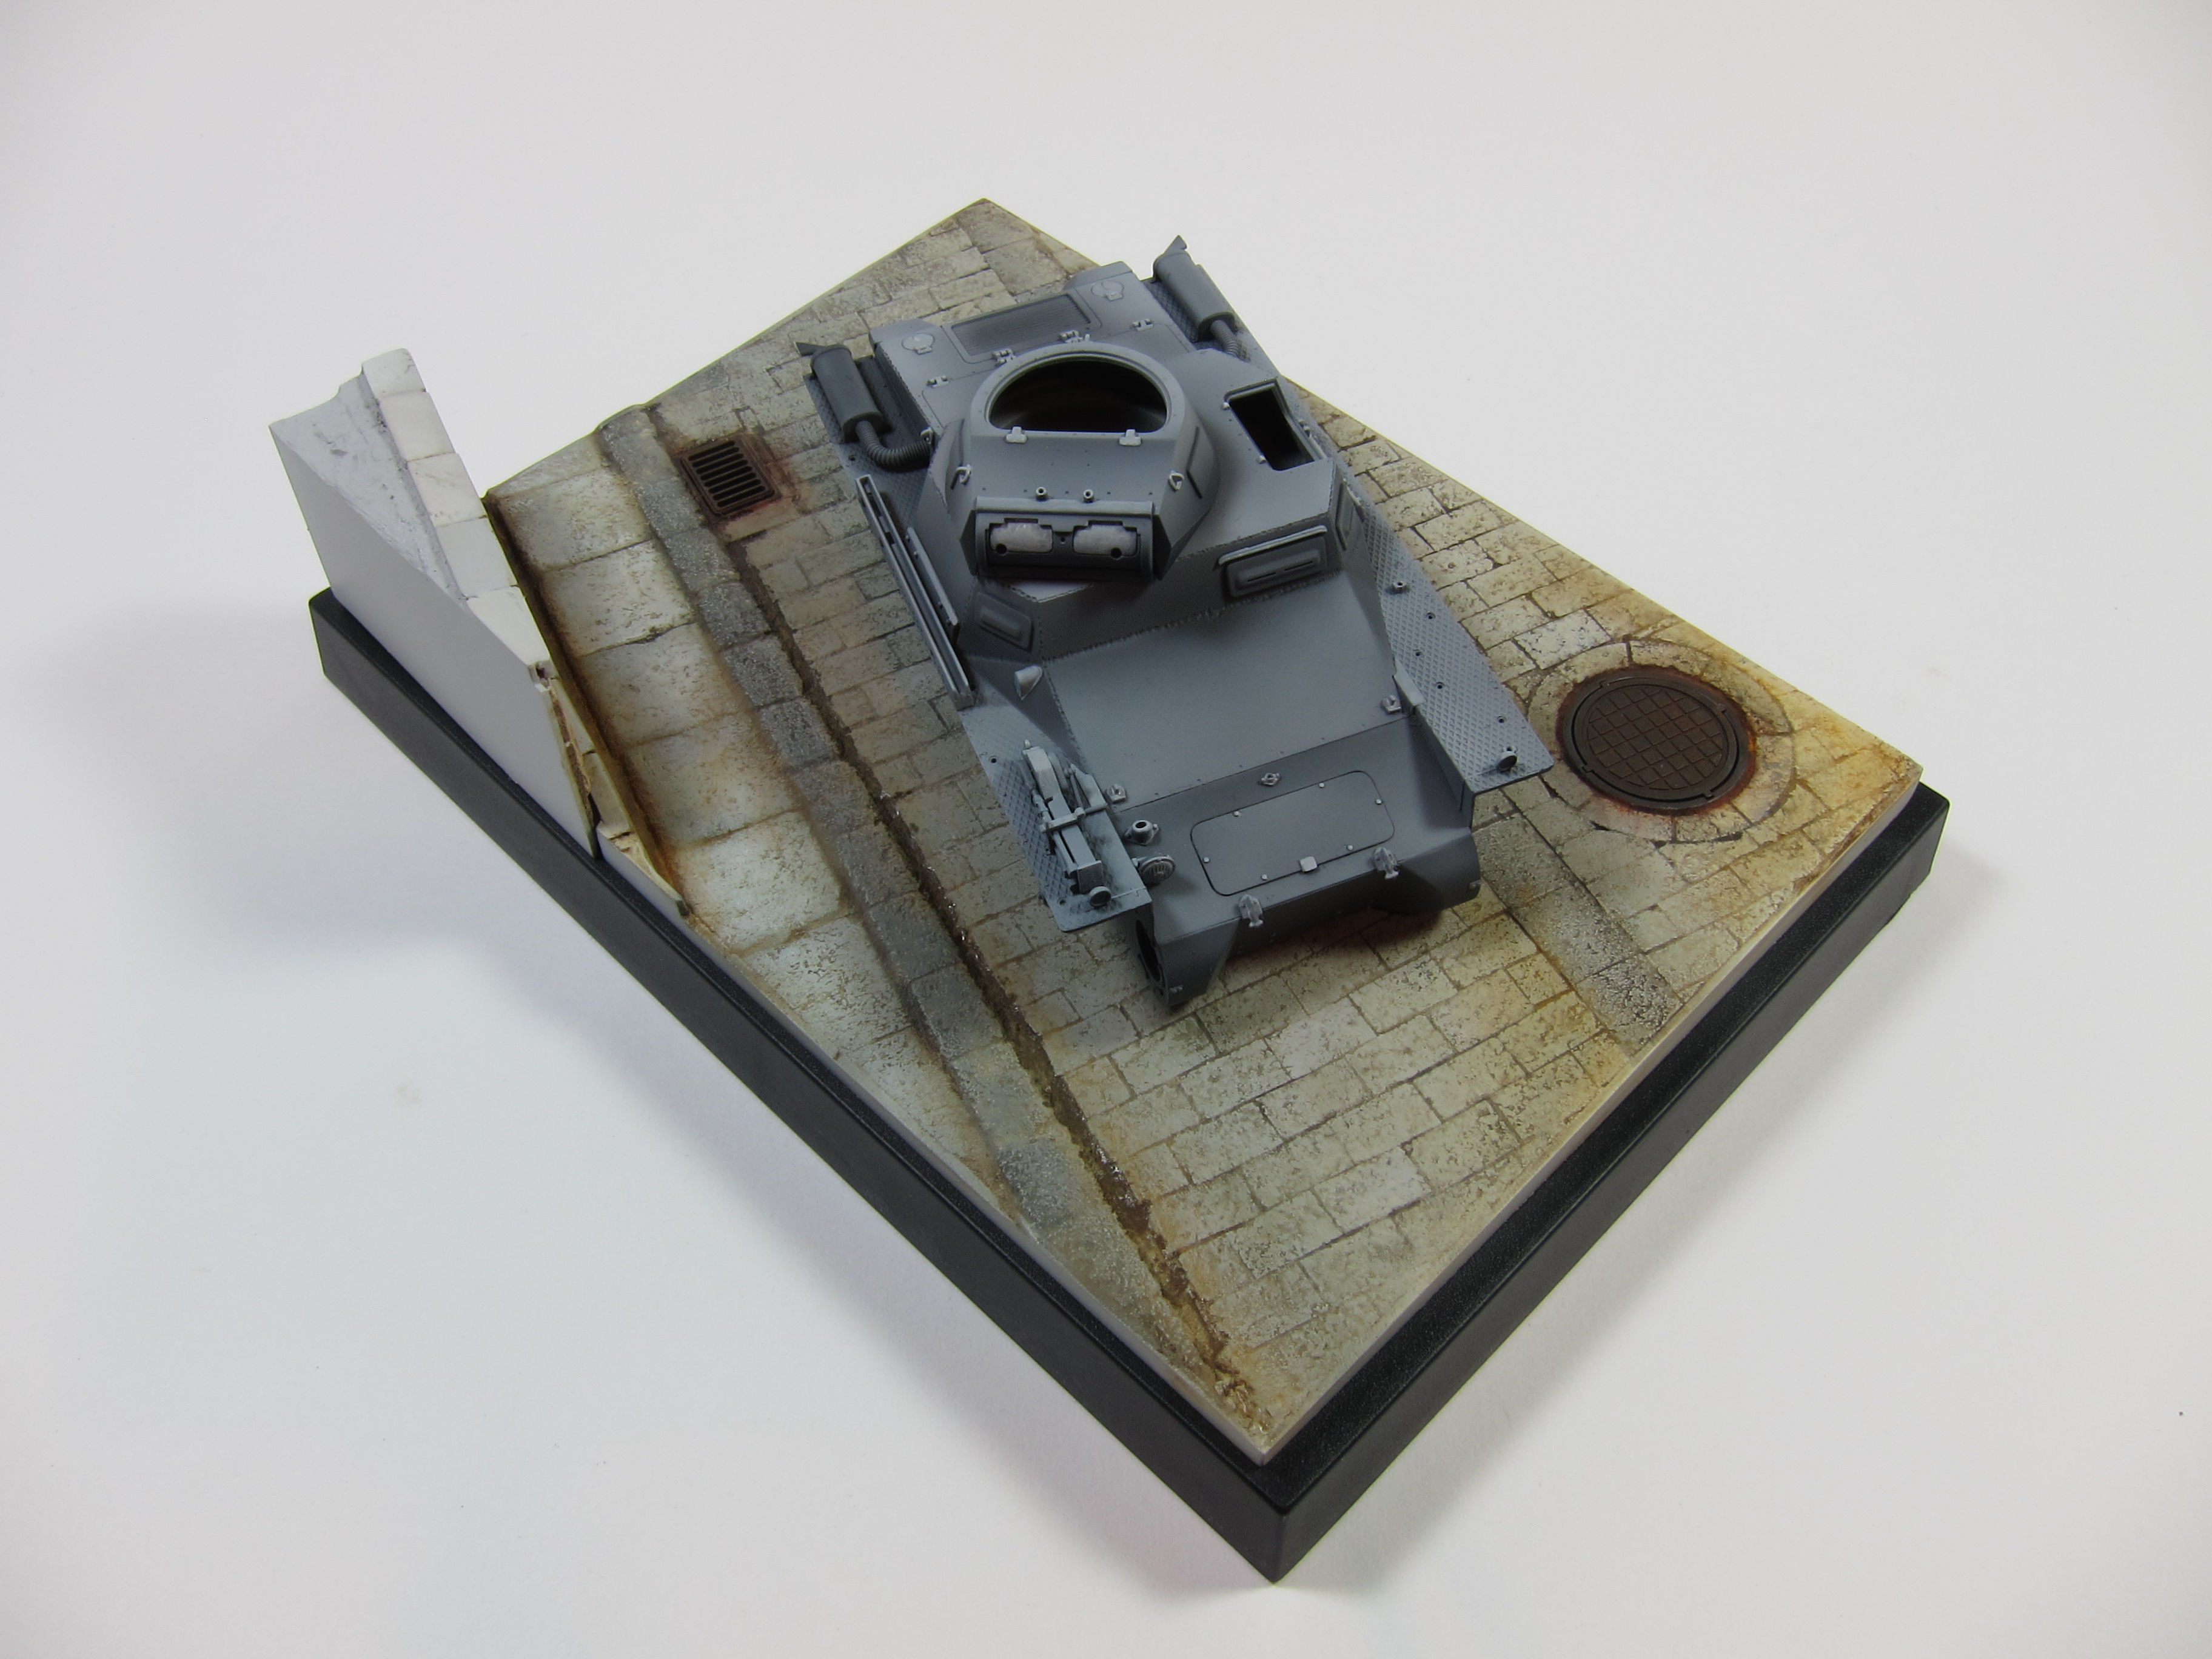
I used an inexpensive injection molded photo frame as a base pedestal and cut a piece of styrene scrap to fit on top of it comfortably. A quick layout was done using a Panzer 1 for a rough vehicle size (the intended resident of this base). A commercially available manhole cover and gutter drain were used and incorporated into the sketch layout. Alignment lines were added to aid in forming straight lines with the courses of pavers

The base plate was cut out of .060 styrene. Then it was scored on the top side at the location of the center of the street and again on the botom face of the plate along the line along the line where the the gutter and the curb meet. The base sheet was then bent to represent the crown in the street.

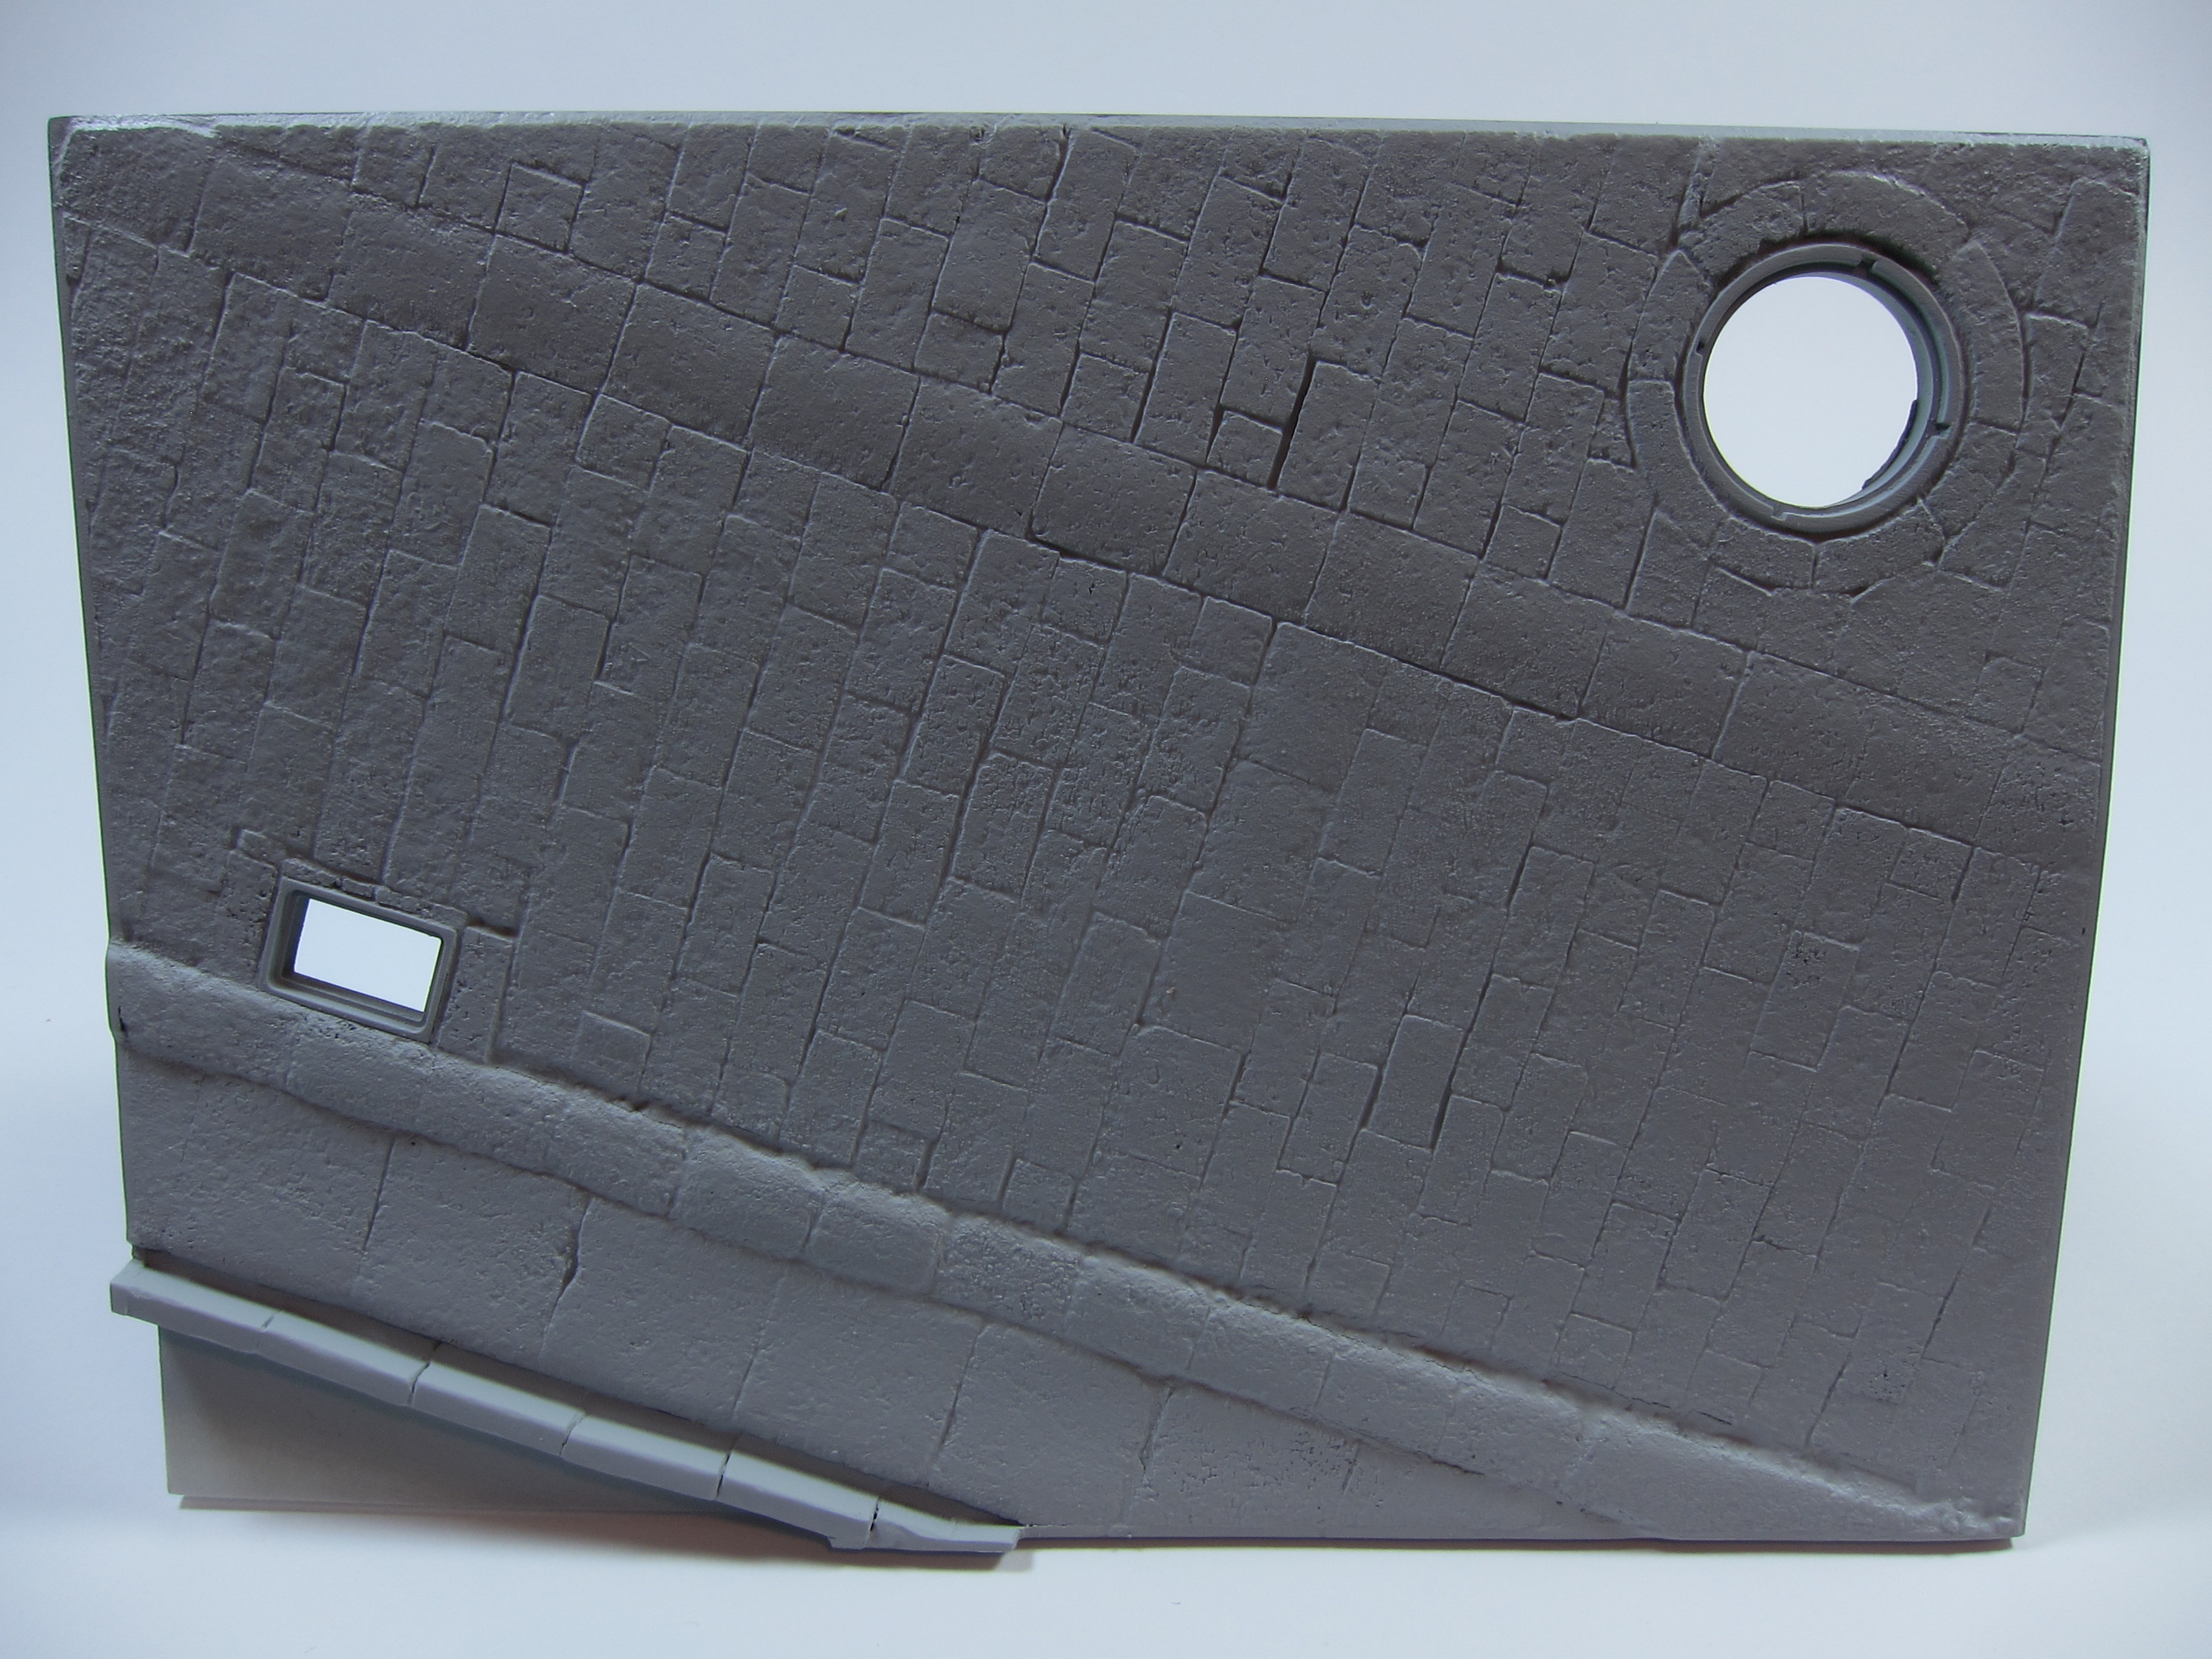
Cork bricks and pavers were cut. First, various thicknesses of cork sheets were sliced into strips. Then the strips were cut into sets of different lengths.. one length was used for all of the street pavers, one length for all of the sidewalk pavers, one length for all of the bricks in the wall etc… The cork bricks and pavers were glued one at a time into the base sheet, using the guidance lines to help keep them all roughly straight. Care was taken not to make them too perfect. Small gaps of varying widths were also incorporated to accept the spackle “grout” later. The manhole cover area and the gutter drain had to be treated with special care as these would be minor focal areas in the finished product. They may not be completely “accurate” but I feel that they are plausible and add a nice secondary level of detail. The pavers at the edge of the base plate were left to hang over the edge and trimmed after the whole base had been left to set up. A few of the very small corners of pavers chipped off and were reglued, trimmed and sanded flush. Where a more finished type of stone surface was desired (between the sidewalk and the brick wall and at the top of the wall) styrene extrusions were use. Small nicks and irregularities and wear in the stone were suggested by carving the corner of the styrene extrusions .

Adding the pavers

Adding the pavers


Manhole detail
Ready for spackle
Once all of the pavers and bricks were glued down, the edges were sanded flush and spackle was spread over the whole surface with a small palet knife. Care was taken to force the spackle deep into all of the gaps and cracks. While the spackle was still damp a sponge was run over the entire base to wipe off most of the excess spackle. After that was done a brush was used to work the remaining spackle deeper into the gaps and also to lift some of it out, resulting in a three dimensional effect. The three-dimensionality will aid in the painting stage.

Applying spackle
IMG_0196
IMG_0212
IMG_0208
IMG_0214
IMG_0211

A new year…full of promise!

10 months behind schedule but better late than never…

At the beginning of 2012 I made a commitment to myself that this would be a year of personal creative development and growth.  Well right off the bat, life (and work) had something else entirely in mind. As soon as I returned to work from our winter holiday break, major projects hit and I found myself working 55-60 hour work weeks. Thing eased up after that project wrapped up but I never seemed to regain that heady optimism of January…

Around the end of July I purchased some hardware with the goal of making it easier and more seamless for me to do research, plan projects, and document my progress and the results of my work. Several months of head scratching, head banging and quite a few “D’oH!” moments later and here we are at the end of 2012, where I am proud to unveil in all of its glory…

drum roll…

my blog.

OK so it’s not much to look at now. The completed model content is mostly old projects, seriously out of date as far as my skills, materials and processes are concerned, and perhaps the technical execution of the blog itself is a little rough around the edges, but as I have learned when it comes to these types of long term projects, you have to start somewhere or you’ll never get anywhere.

So welcome to my blog!

HAPPY NEW YEAR and here’s to a year of growth and development, and probably a few frosty adult beverages along the way.

Pete